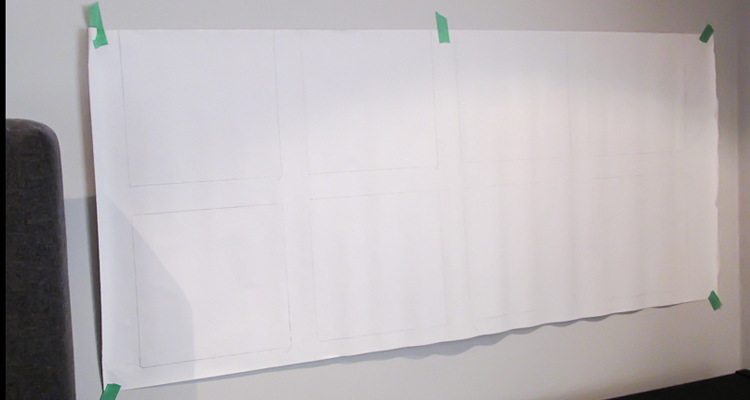
I gave my daughter, Jordan, a set of 8 Warhol prints last Christmas and we never got around to hanging them. She was away on vacation so I wanted to surprise her when she got home. The 8 images definitely needed to be spaced perfectly. Here’s how I did it:
Step 1: Measure the space where the art is to be hung and decide how much space on either side is needed. Then you can determine how much space there will be between the images.

Step 2: Cut paper approximately the size of the area where the art will go.
Step 3: Lay the images down on the paper approximately where they will be placed. Measure carefully so each one is spaced perfectly.
Step 4: Trace around each image.

Step 5: Hang the paper where the art will be hung using painters tape so as not to mark the paint.

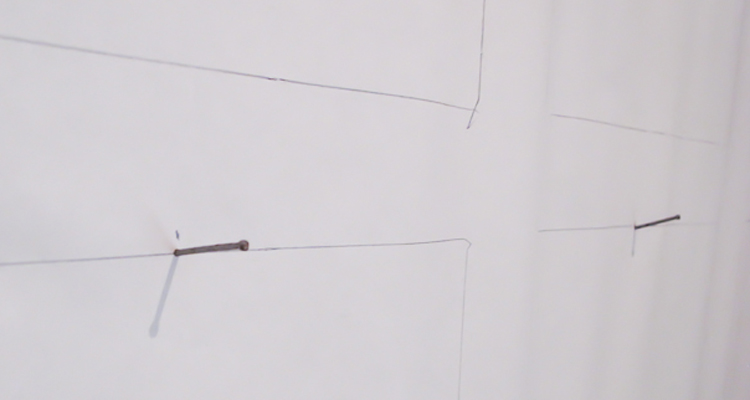
Step 6: Put a nail in the centre of the top parameter of each traced area. Remove the paper being careful not to dislodge the nails.

Step 7: Hang the image and PRESTO!

Note: The entire process took less than ½ hour.
~Patti Houston, Owner
[…] Just a reminder that our blog has moved. Please visit our new blog and website to read our latest post, DIY: Picture Hanging Made Easy. […]
Looks great!