Shane’s Vintage Kitchen Restoration
Slowly but surely I’ve been fixing up our circa 1920’s, 1940’s, and 1970’s mash of a kitchen. Right now I’m working on the upper kitchen cabinets. As you can see over the decades they have seen many coats of paint, including a nice layer of avocado green.
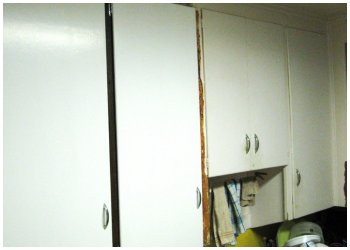
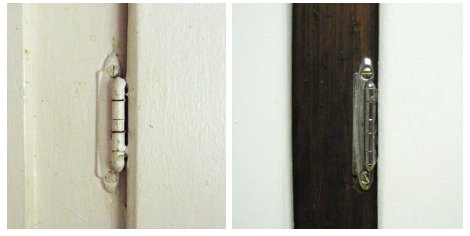
I first took off the cabinet doors and hardware to begin peeling back some of the layers. The design and look I was going for was simply a take on what it most likely looked like when it was new. I knew the paint was hiding nice vintage chrome hardware and I had a strong suspicion that the frames were originally a varnished fir. Luckily my suspicions were right and the old brittle varnish made it relatively easy to chip off the thick layers of paint, saving me from inhaling copious amounts of chemical strippers.
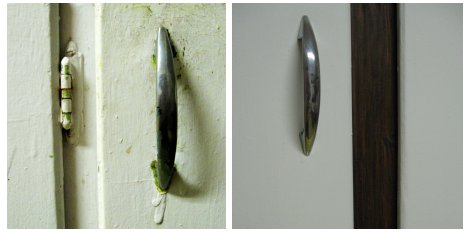
I decided to finish the doors with a fresh coat of white paint for a couple of reasons; the doors were most likely added on later to what was open shelving, keeping a vintage feel plus adding a surface for reflecting light. For the frame I simply bought a dark chocolate coloured stain and wiped it onto the raw wood. Thus, letting some of the wood grain and texture show through, while at the same time covering any flaws from the paint removal and sanding.
It’s taken a long time and a little money but the results will be well worth it. The total cost of doing the cupboards will be under $50.00.
Please comment and let me know if you have any questions!

~ Shane Edwards, Warehouse Warrior
")
")


??? So impressed by your frugality, attention to detail & respect to the era.
I can’t wait to see it finished!!