 We love the idea of up-cycling products here at Flüff. Giving an old product a new life means keeping something out of the landfill and creating a unique, one-of-a-kind piece.
Creating things out of old shipping palettes is one thing we love to do time and time again.
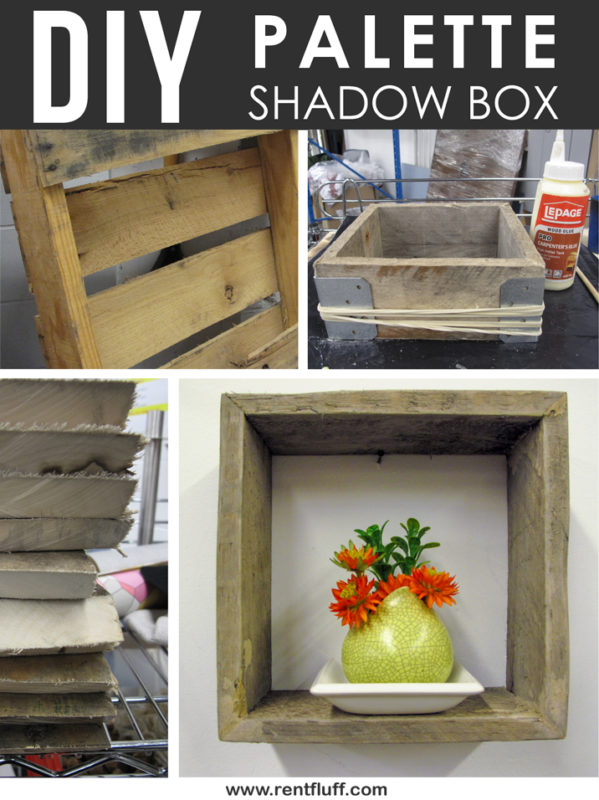
This time we’ve created a shadow box that can nest on a table or be hung, and is the perfect mix of rustic and contemporary design.
STEP BY STEP DIY: Wooden Palette Shadow Box
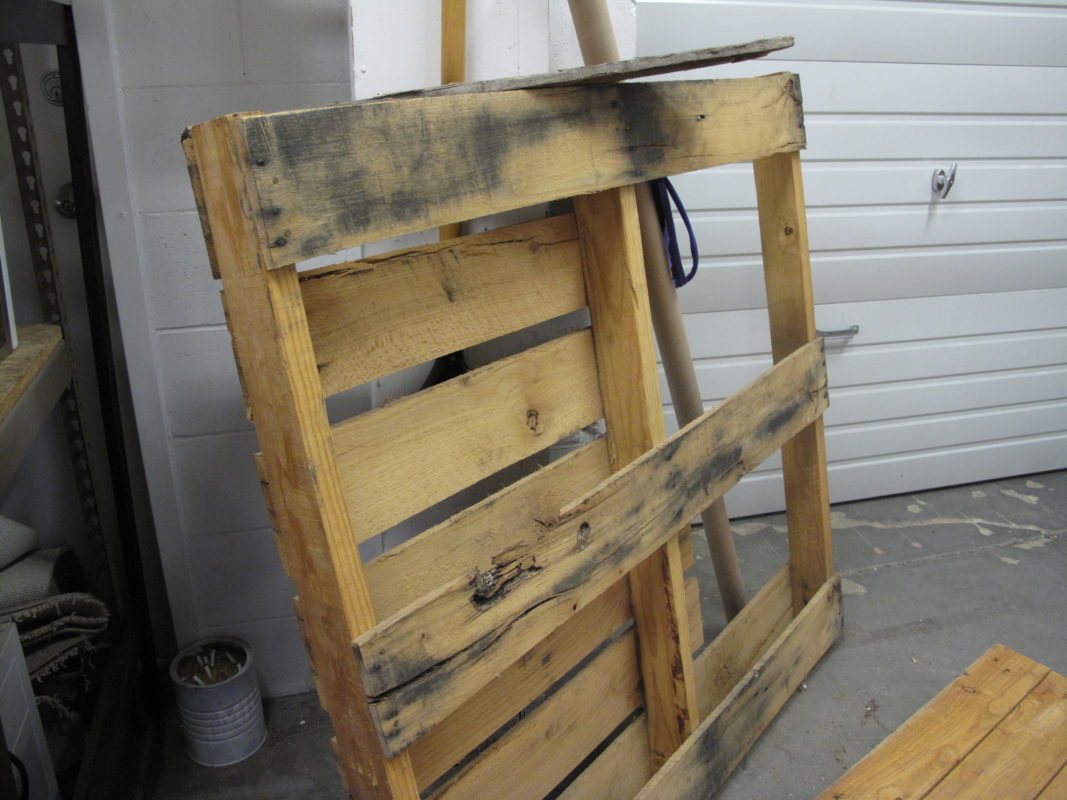
Step 1:
Go on an adventure to find an old disposed of palette. The more worn-in the better – it adds character!
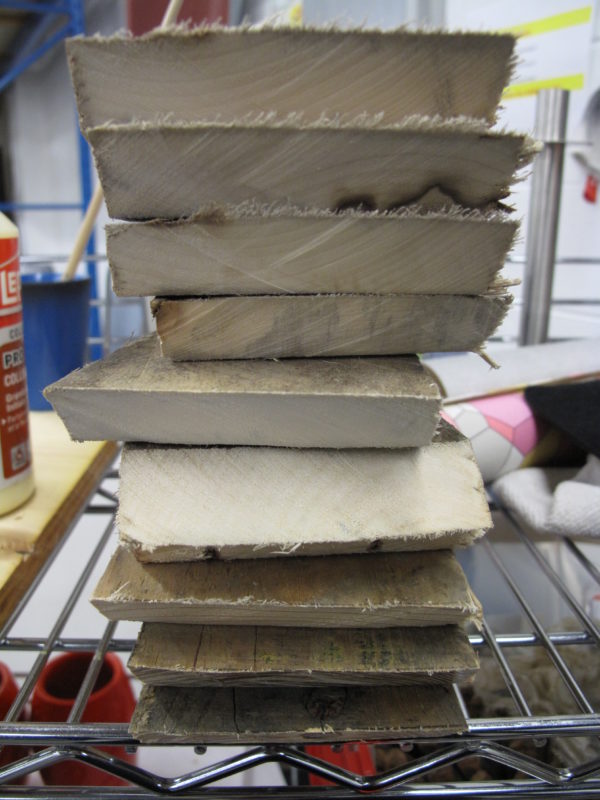
Step 2:
Use a saw to cut down 4 lengths of wood the same size. Be sure to cut the edge on a 45 degree angle so they can be matched up later.
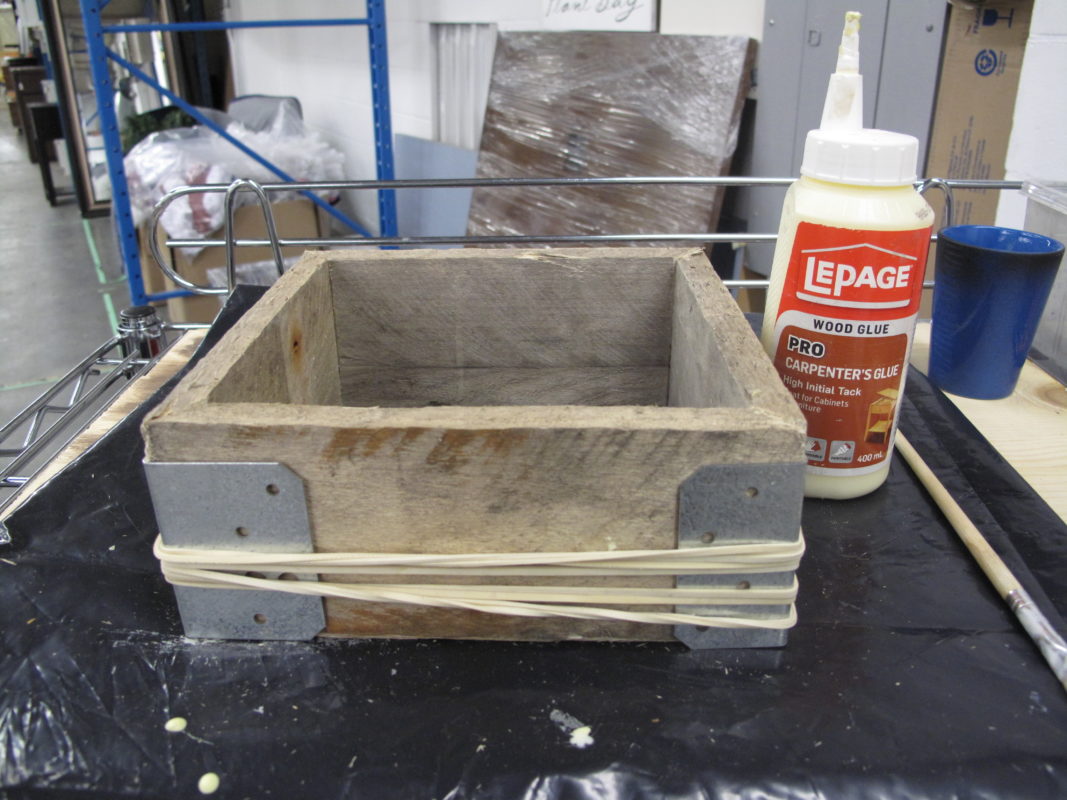
Step 3:
Match up the edges to create a box shape. Use wood glue and hold the pieces together using large elastic bands, or other hardware supplies, until it dries.
Step 4:
Sand down all sides of the box to remove any excess glue, as well as little pieces of rough wood.
Step 5:
Choose a paint colour or stain to use with the box. We chose to use grey paint and watered it down to create a stain-like finish.
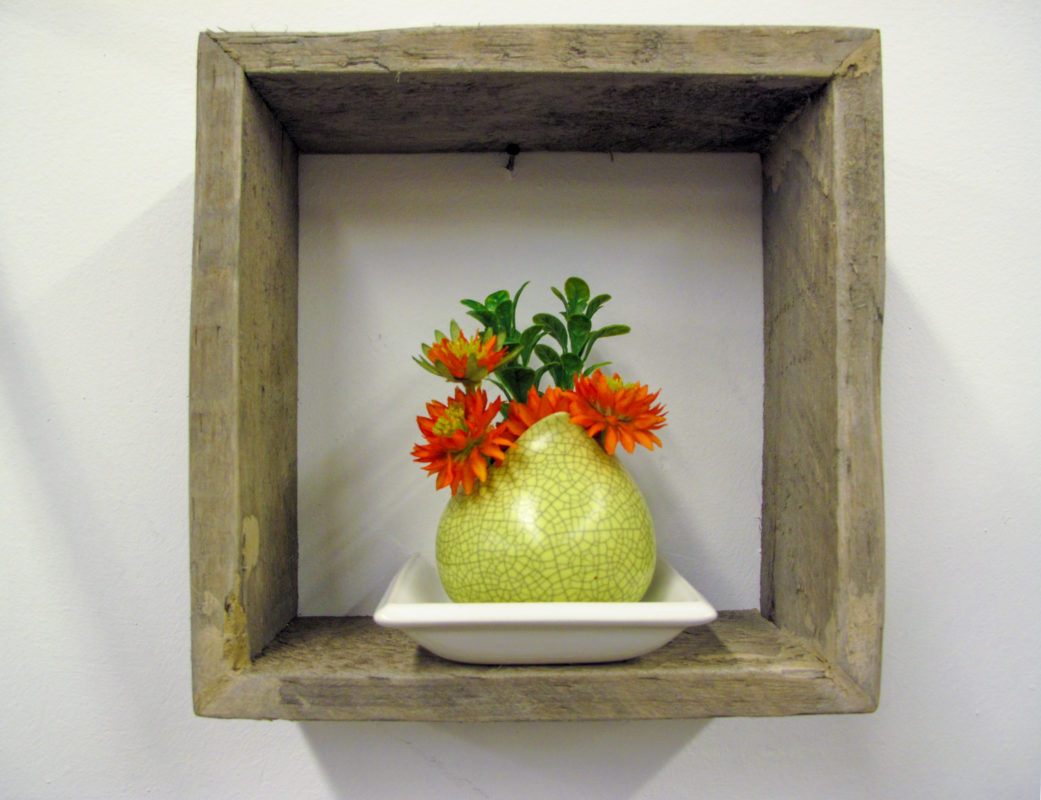
In 5 simple steps you can create a unique piece like this palette box. You can make an array of sizes and stack them, use them on a desk, or hanging on a wall. Good luck and happy DIY-ing!
 ~ Jordan, designer & textiles


Add a comment
0 Comments