We often get asked for interior photography tips, and today we’re sharing some of insights with you! Take a look below:
Straight Lines
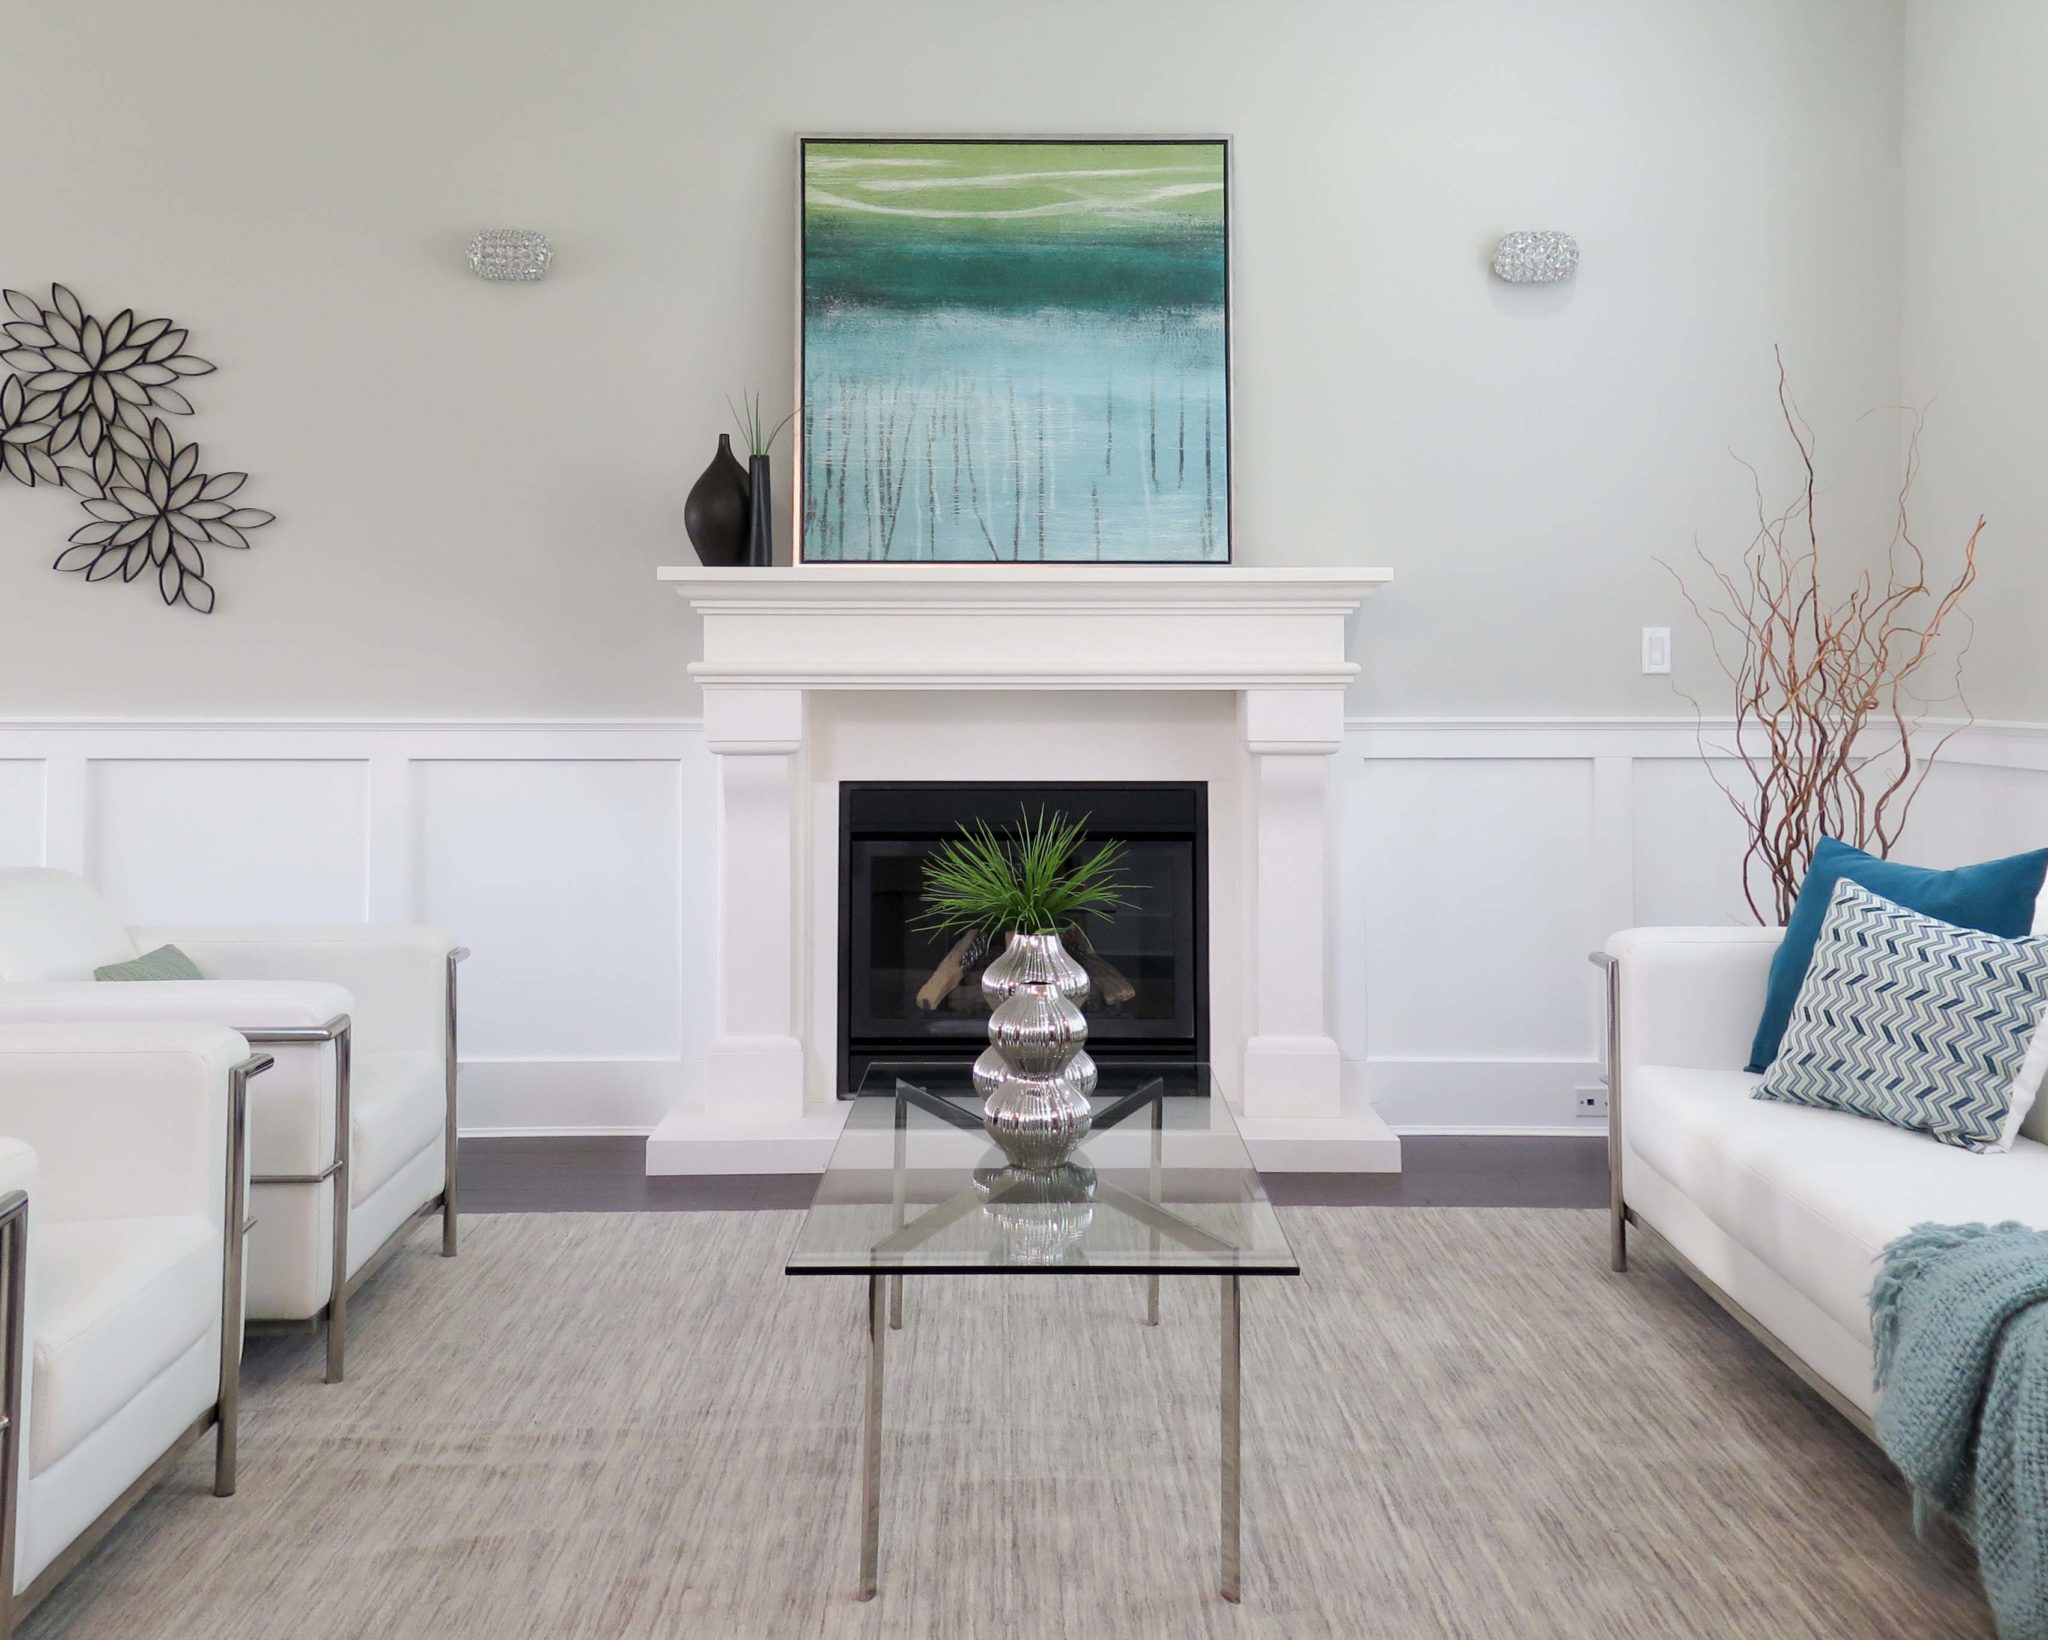
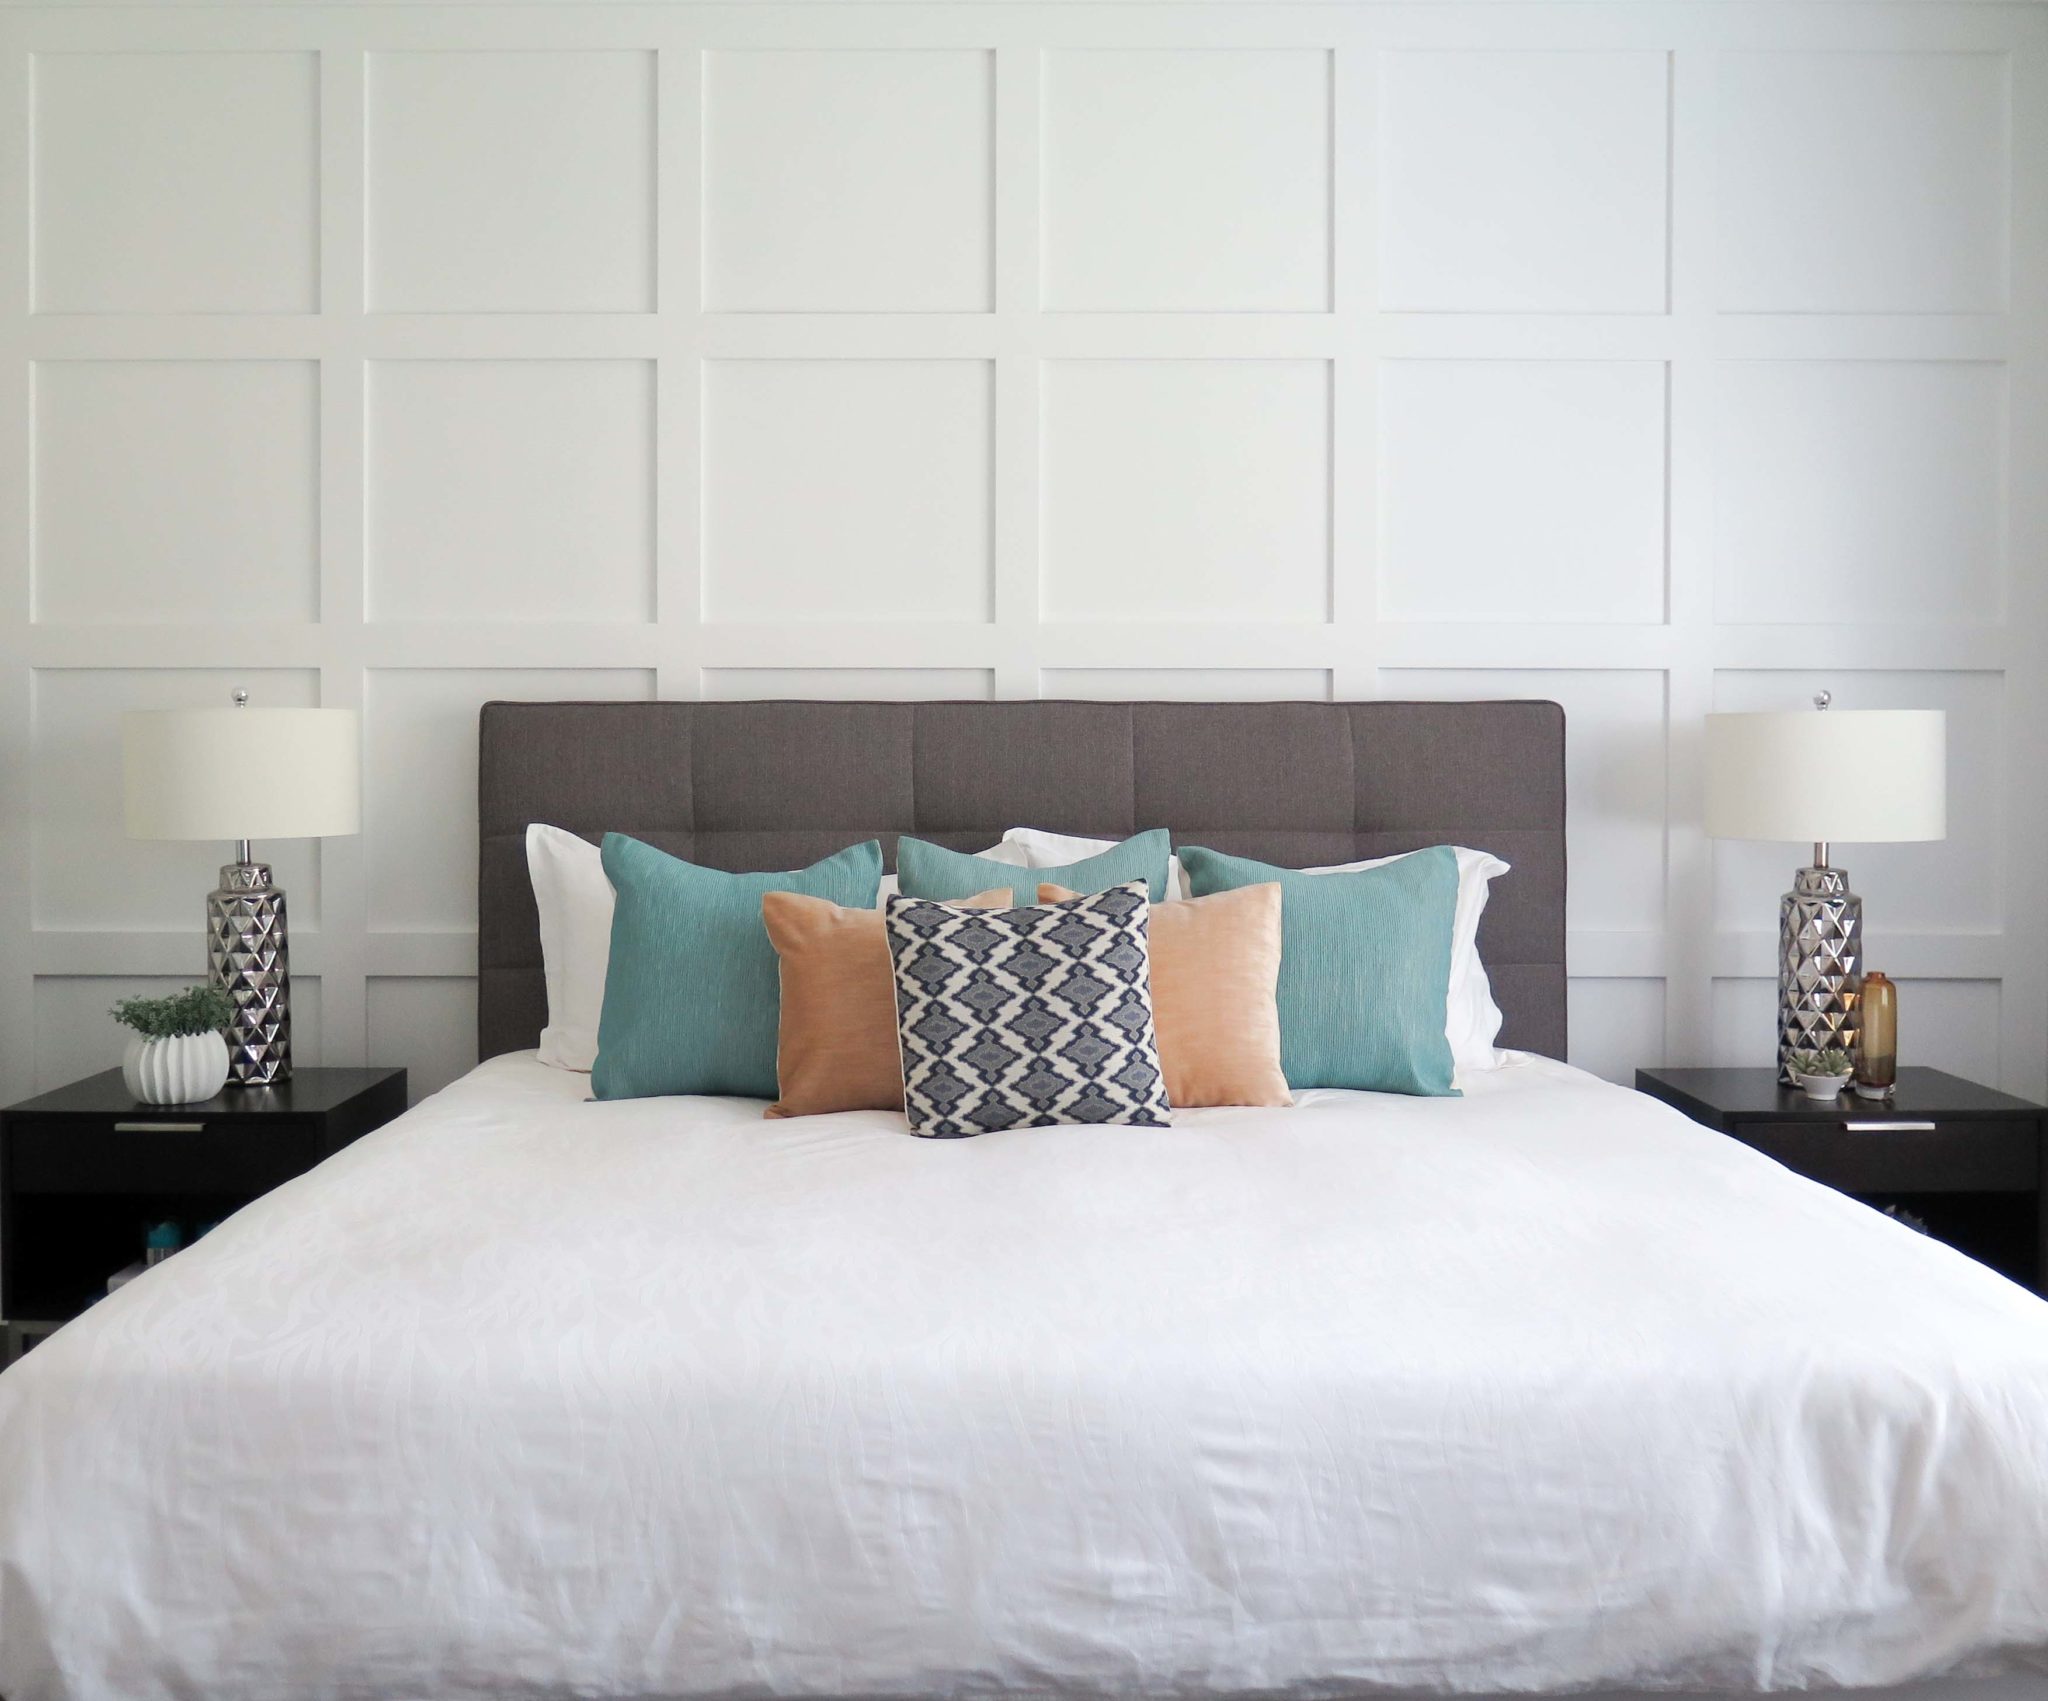
Our number one photography tip is to ensure all lines in the room are straight. The moulding in these spaces had to be straight, or else it would serve as a major distraction in the photo.
Shoot the Entire Room
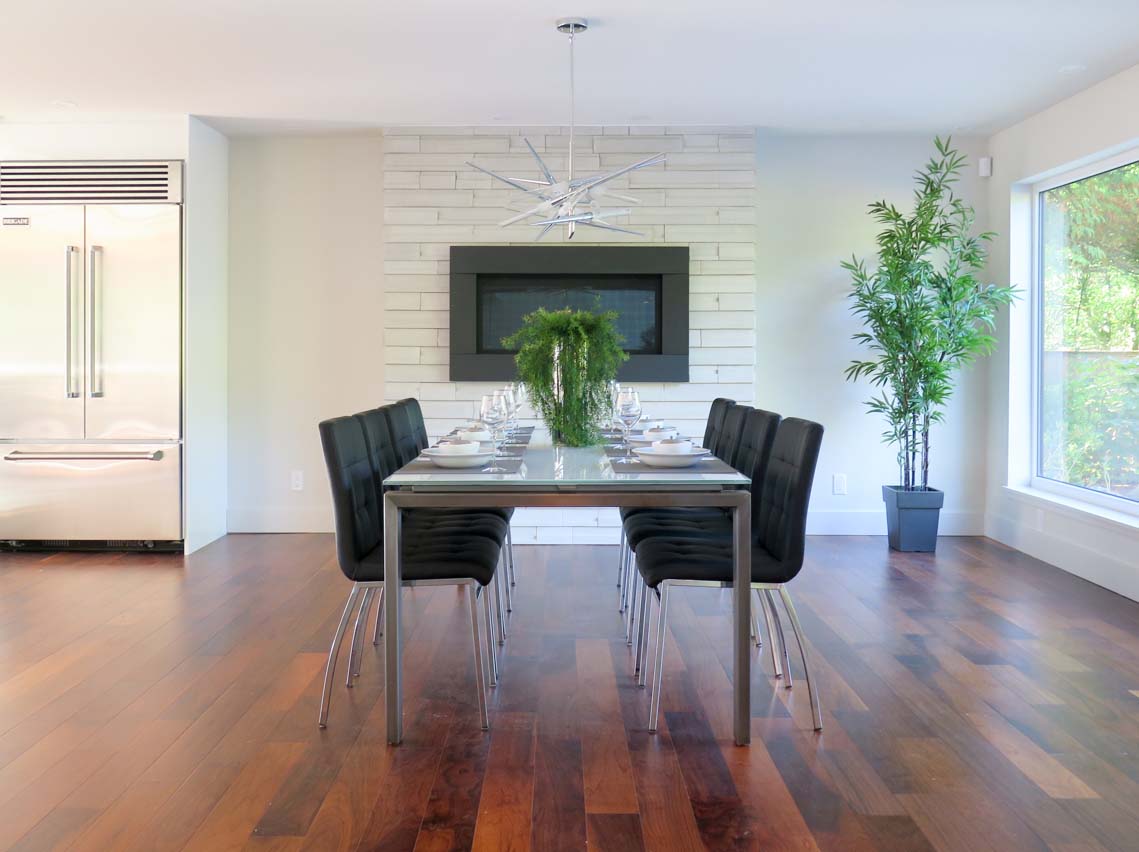
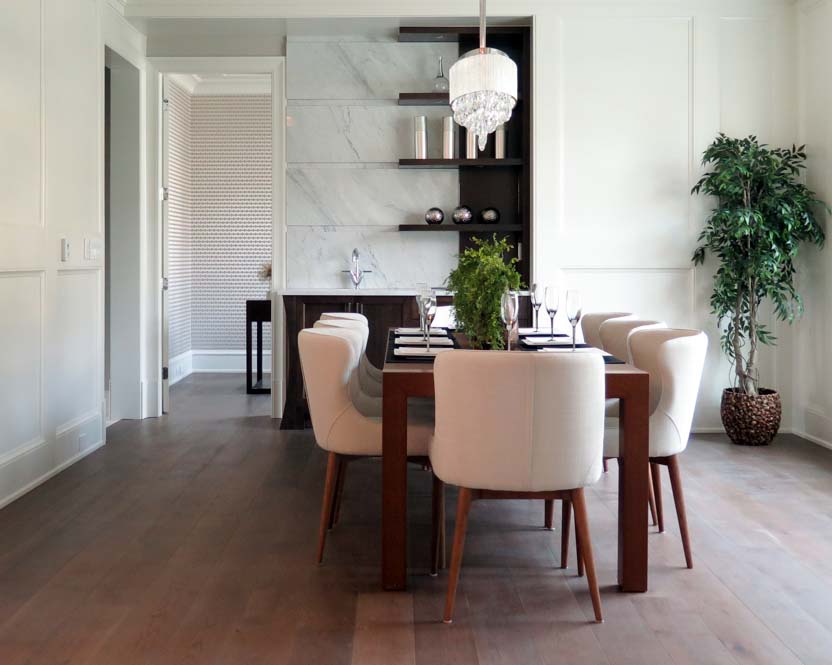
Another crucial point to remember is to shoot the entire room. This means getting the full width, including all the furniture and details in the shot. This will help people visualize what the space looks like.
A “Sneak-Peak”
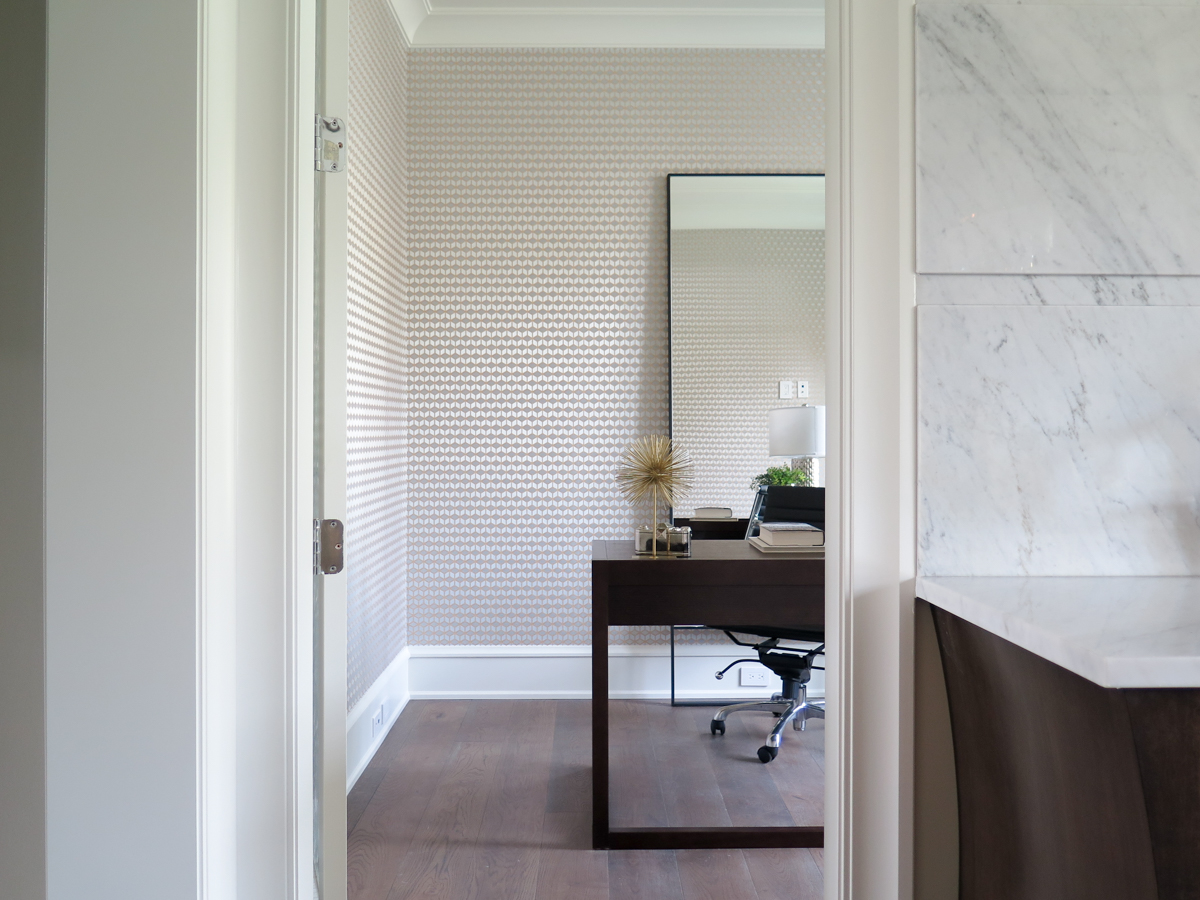
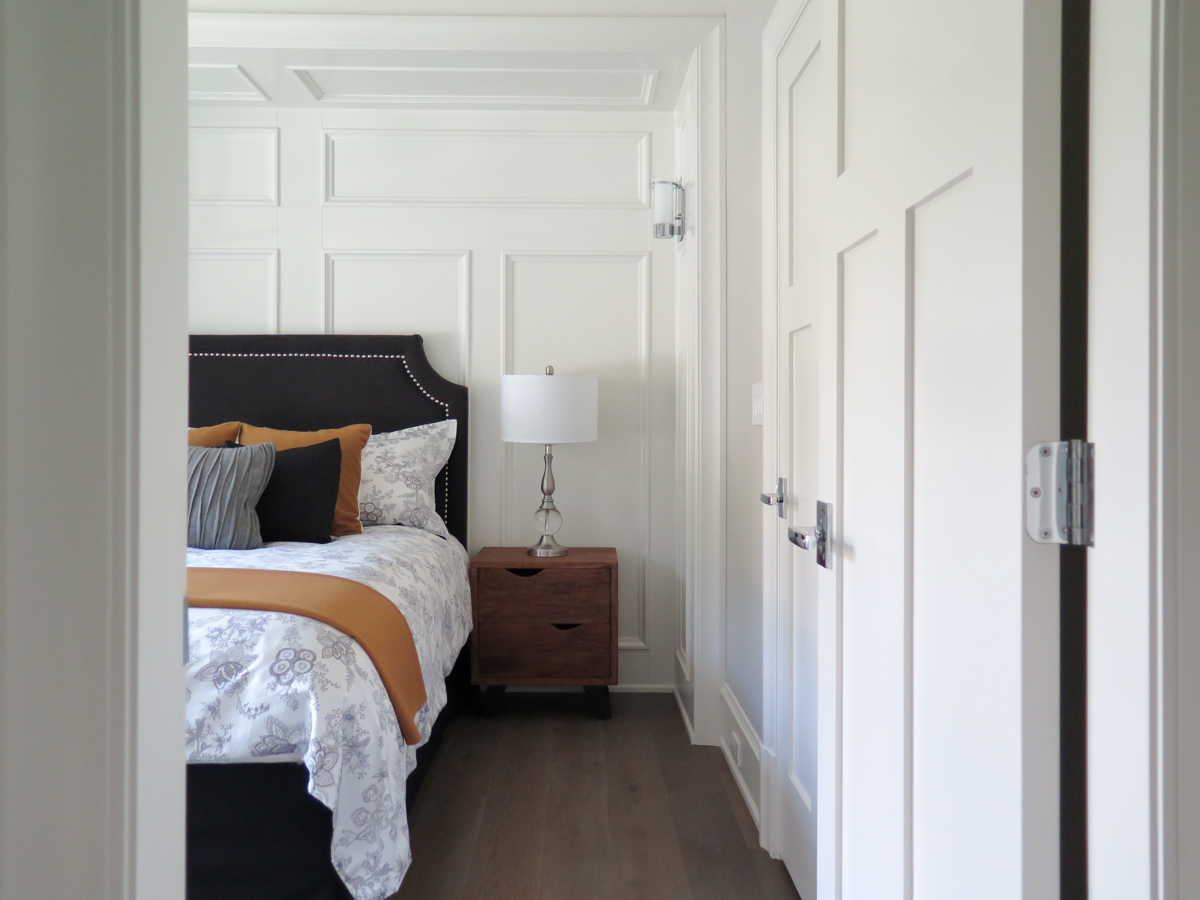
Peeking into a room gets your readers interested in the photos to come. There’s usually lots of white space from the walls which takes your eyes directly to the feature piece (in this case, the office desk and the bed).
From One Room into Another
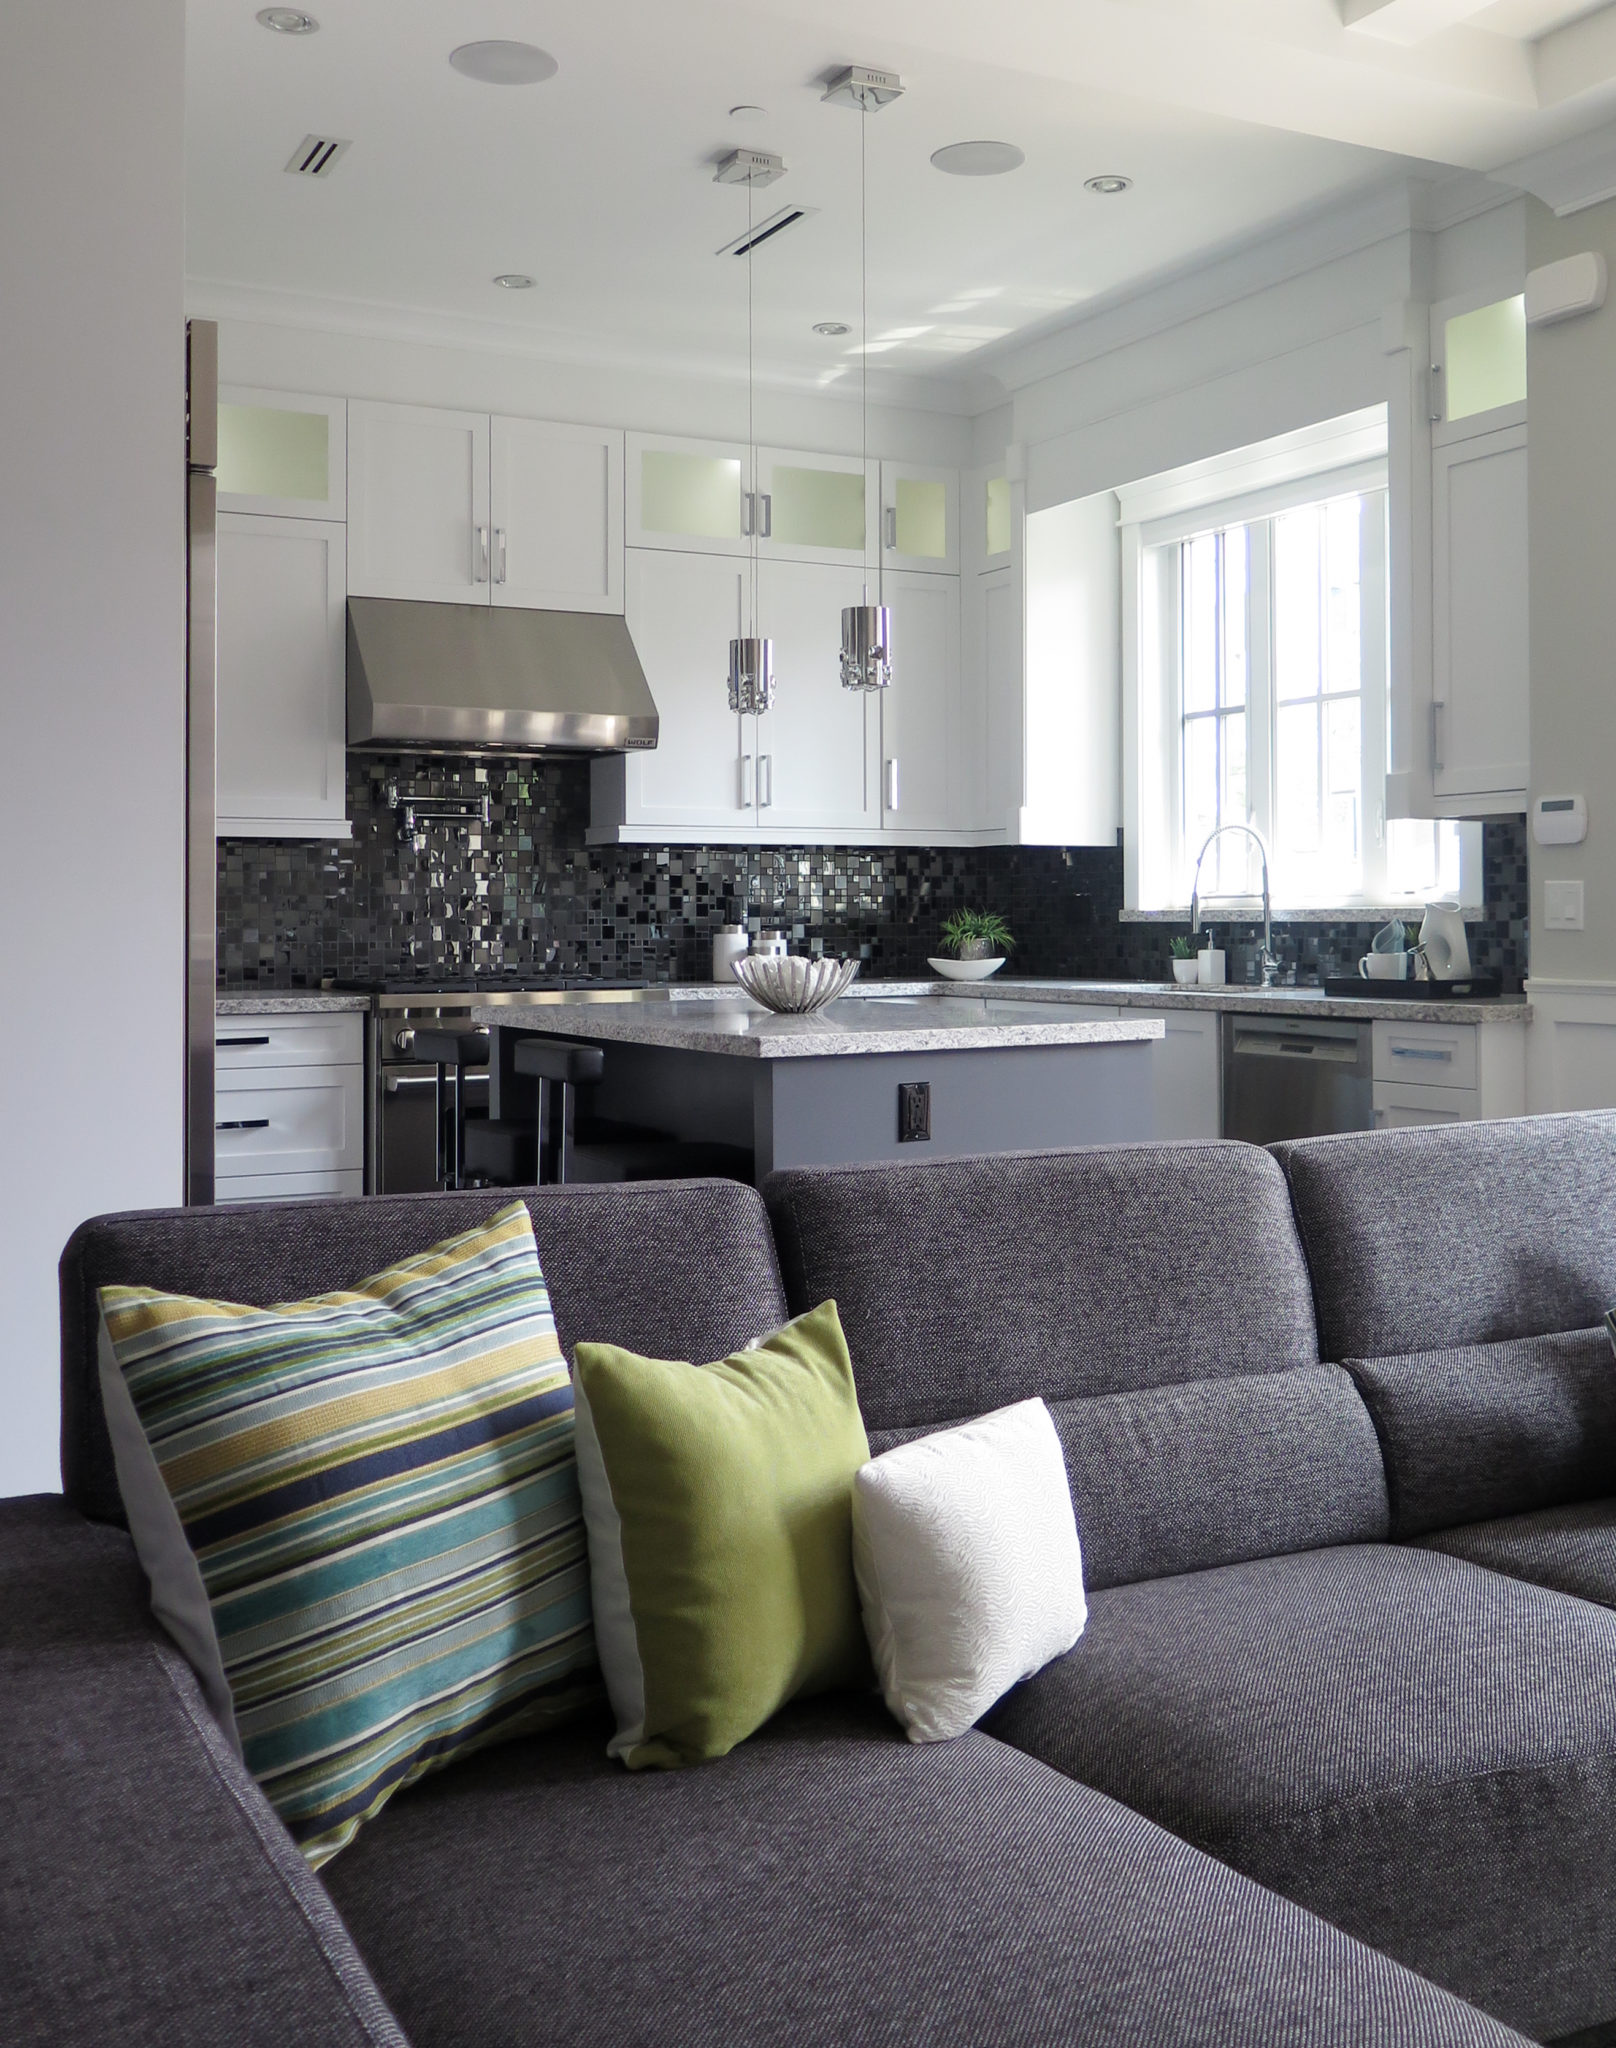
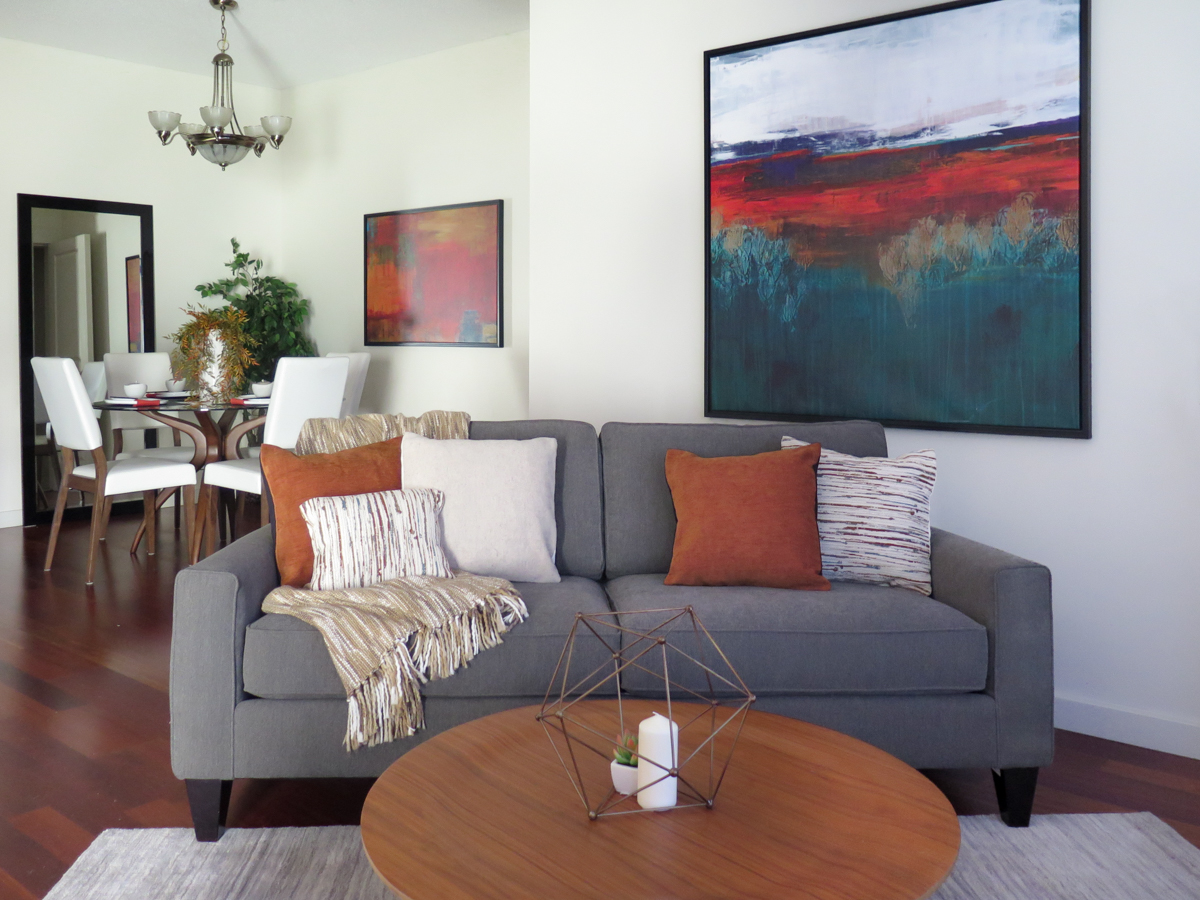
A great way to create some feeling in the photos is to shoot from one room into another. This captures multiple areas at one time, and leads your eye into the next space in a house tour.
Shoot Multiple Angles
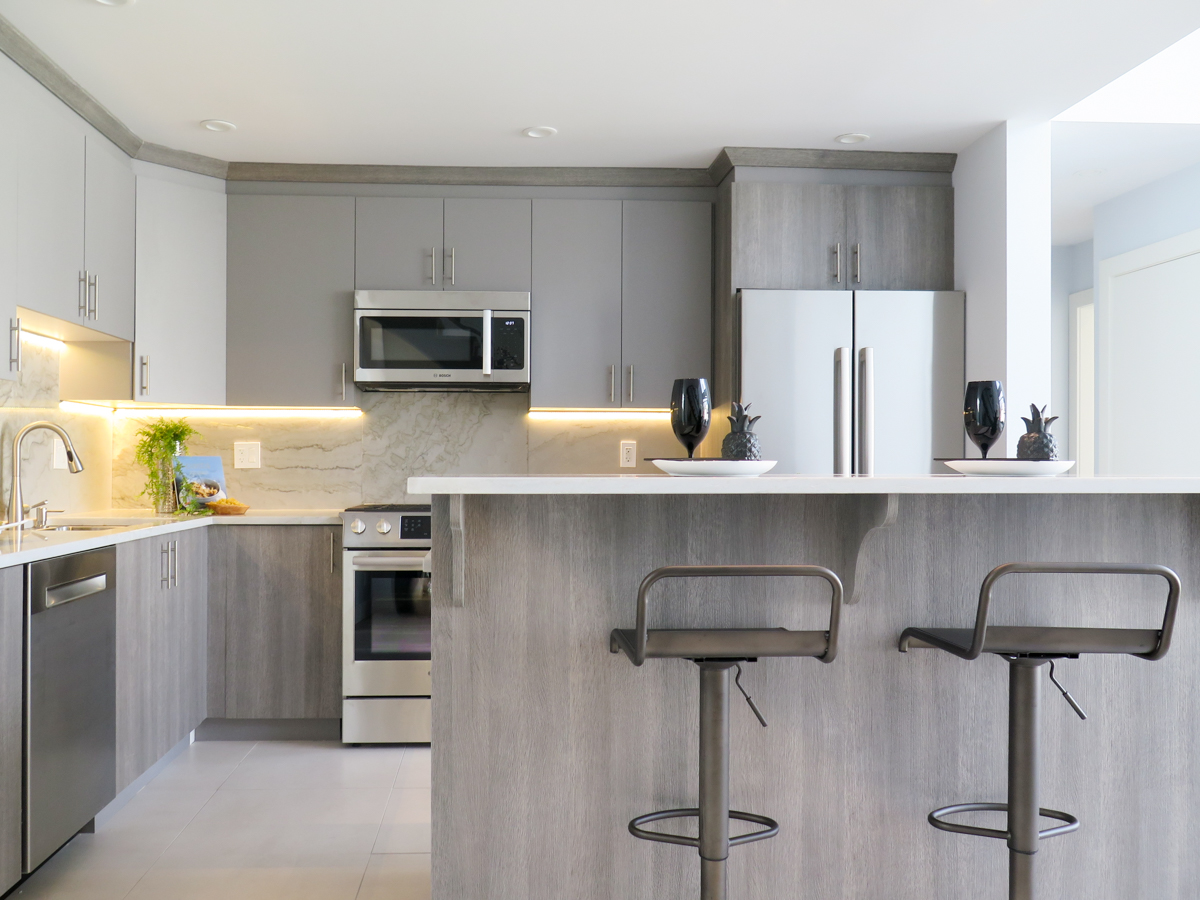
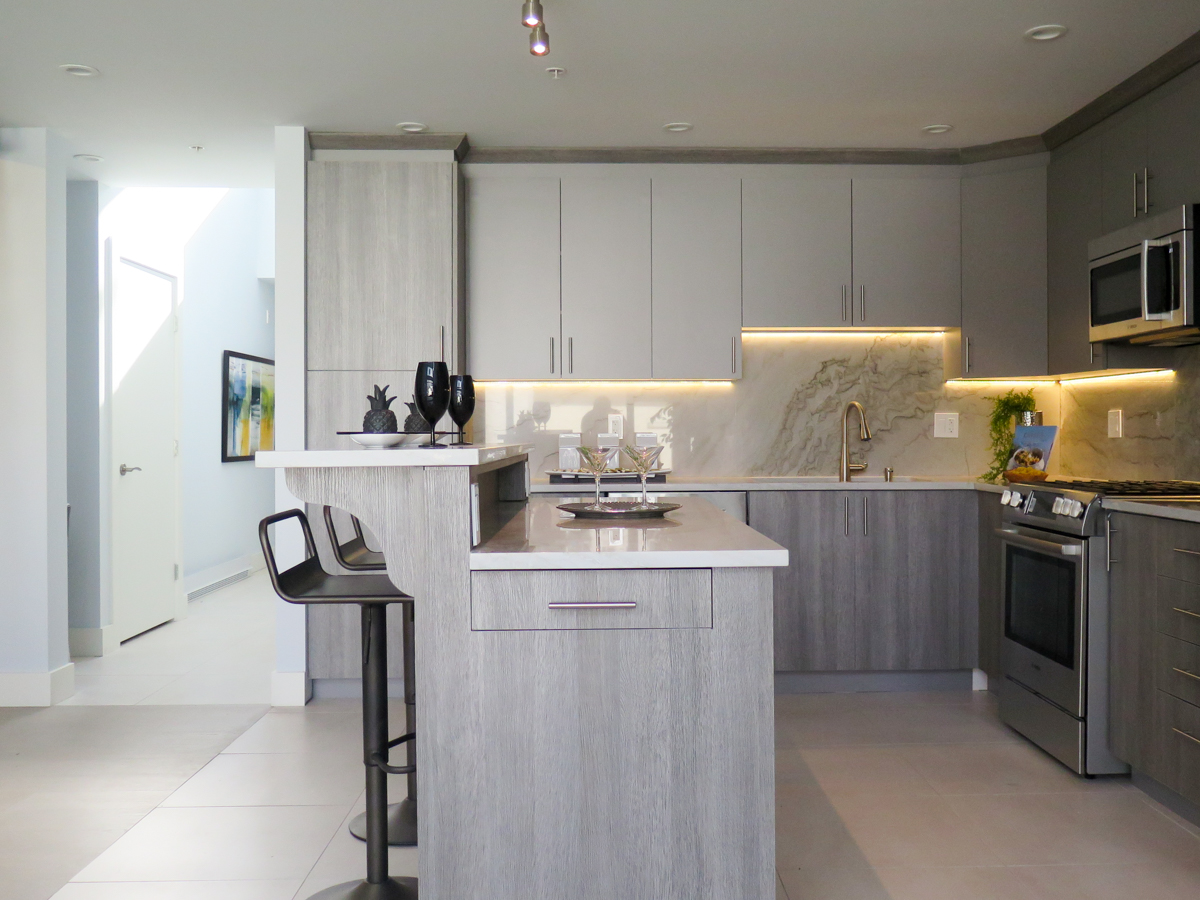
Shoot the same room from multiple angles to showcase the entire space. Kitchens look great with multiple angles, as do living rooms!
Don’t Forget the Details

Focus on details in the room like coffee table accessories, textiles, and vignettes.
Some other key things to note:
- shoot on a tripod to ensure there’s no camera shake and that images are all at the same height
- shoot with one type of light source ie, natural daylight OR indoor lighting…not both
- always shoot images horizontal, they can later be cropped to vertical but not vice versa
- check your settings before shooting; iso, aperature, shutter speed. If you don’t know what these are, find some great tutorials online to expand your knowledge!
 // Jordan – Marketing & Media
Add a comment
0 Comments