Today we want to show you Patti’s reno reveal and finish up our series on gallery walls! The Aspens condo project has been a work in progress for the last few months and here it is finished!! First we will address the gallery wall project and our tricks for streamlining the installation process.
Gallery Wall Install
If you remember from our previous post on gallery wall prep, we created a template using craft paper. We brought our template and our framed images up to Whistler.
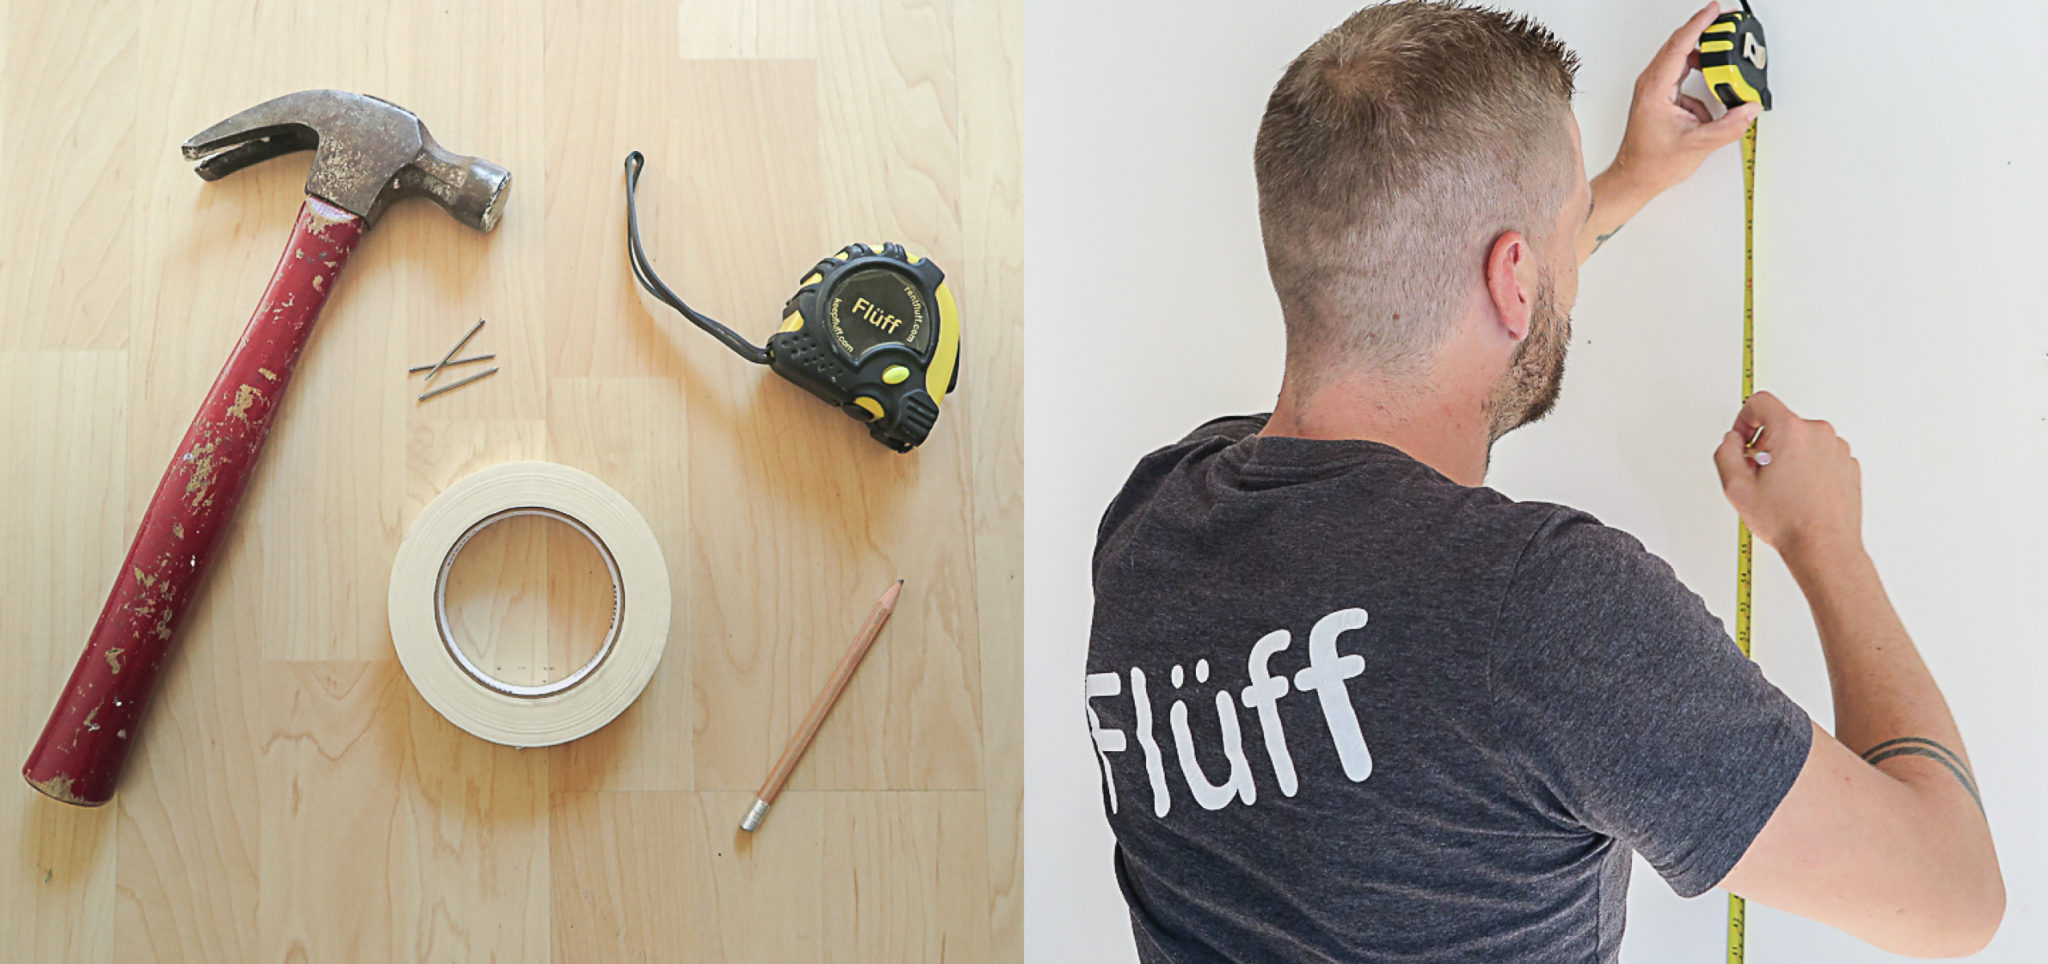
Here is what you will need for the installation, a hammer, nails, a measuring tape, and a pencil. A level would be handy too!
Mitchell measured 60″ from the ground, this will be the center of the template. About eye level for an average height person.
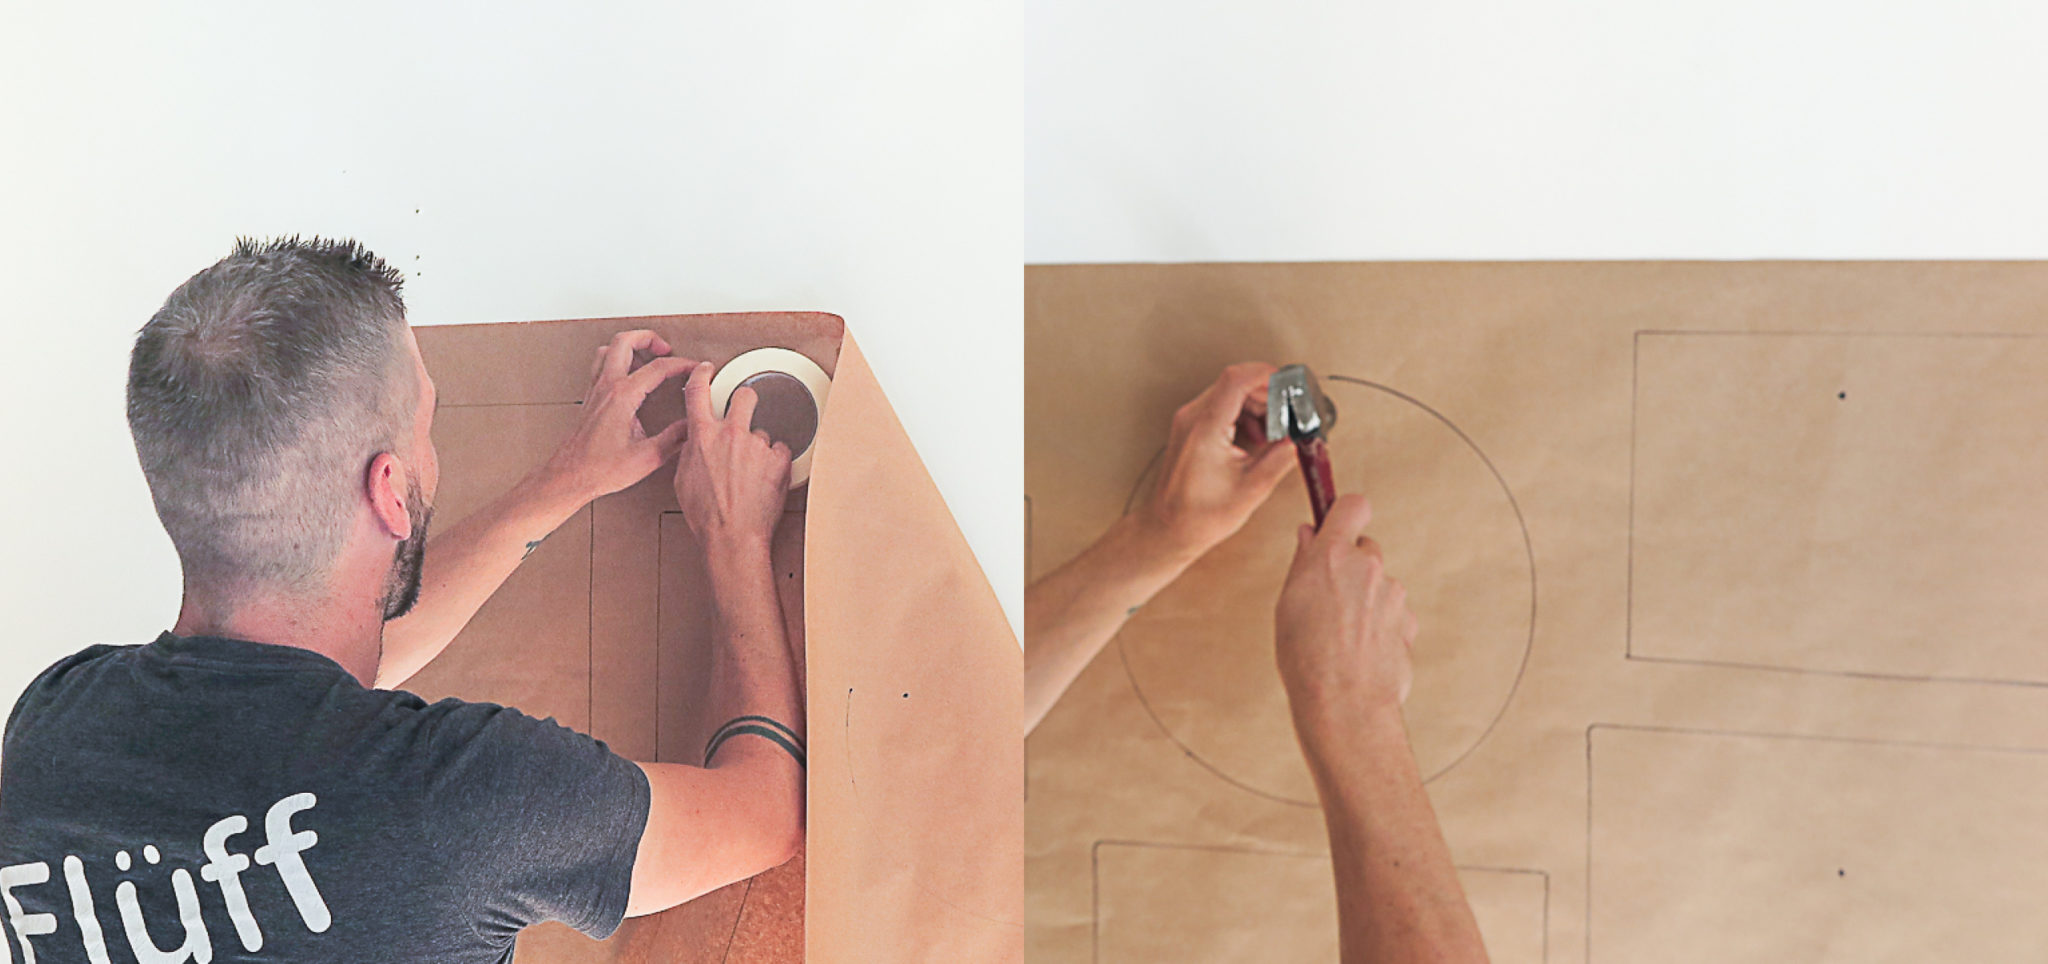
Mitchell then taped up the template, using the measurement as a guideline. It is helpful to use a level to make sure your paper is straight!
He then nailed in the supports for the frames using the holes he had marked when he made the template.
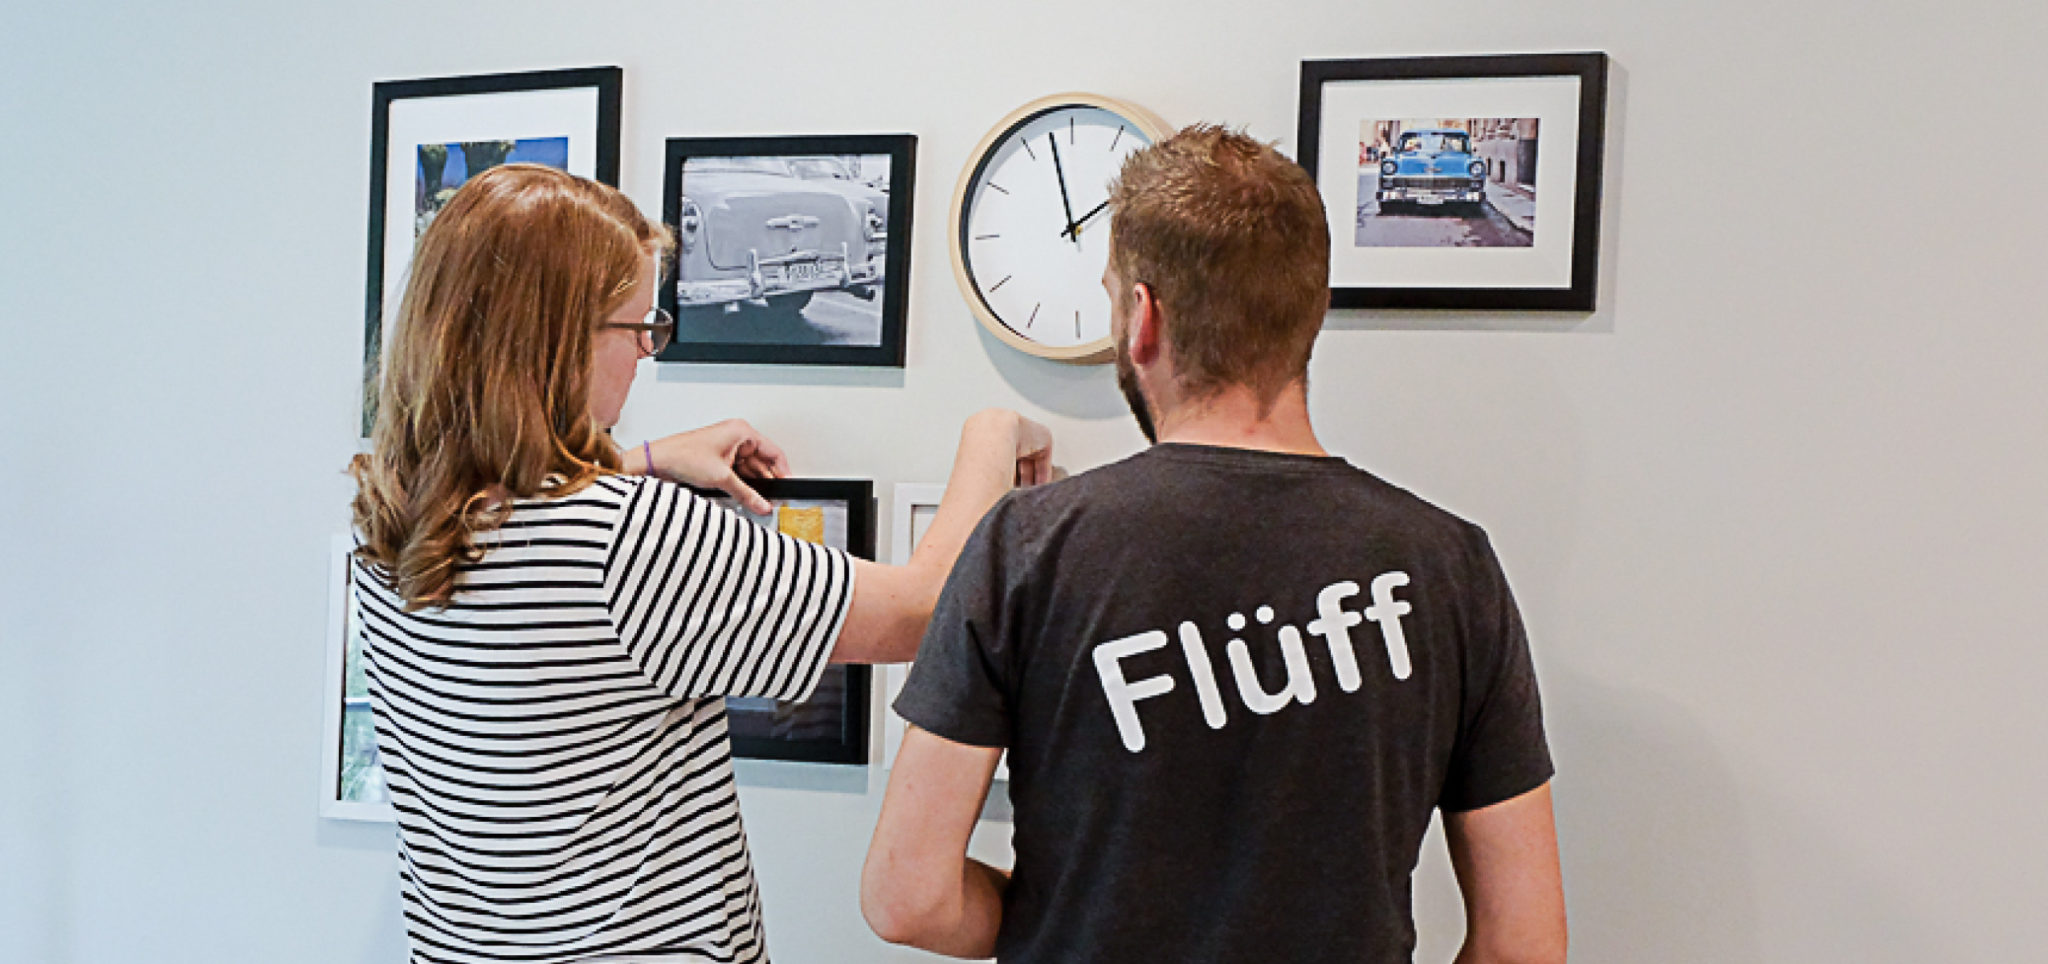
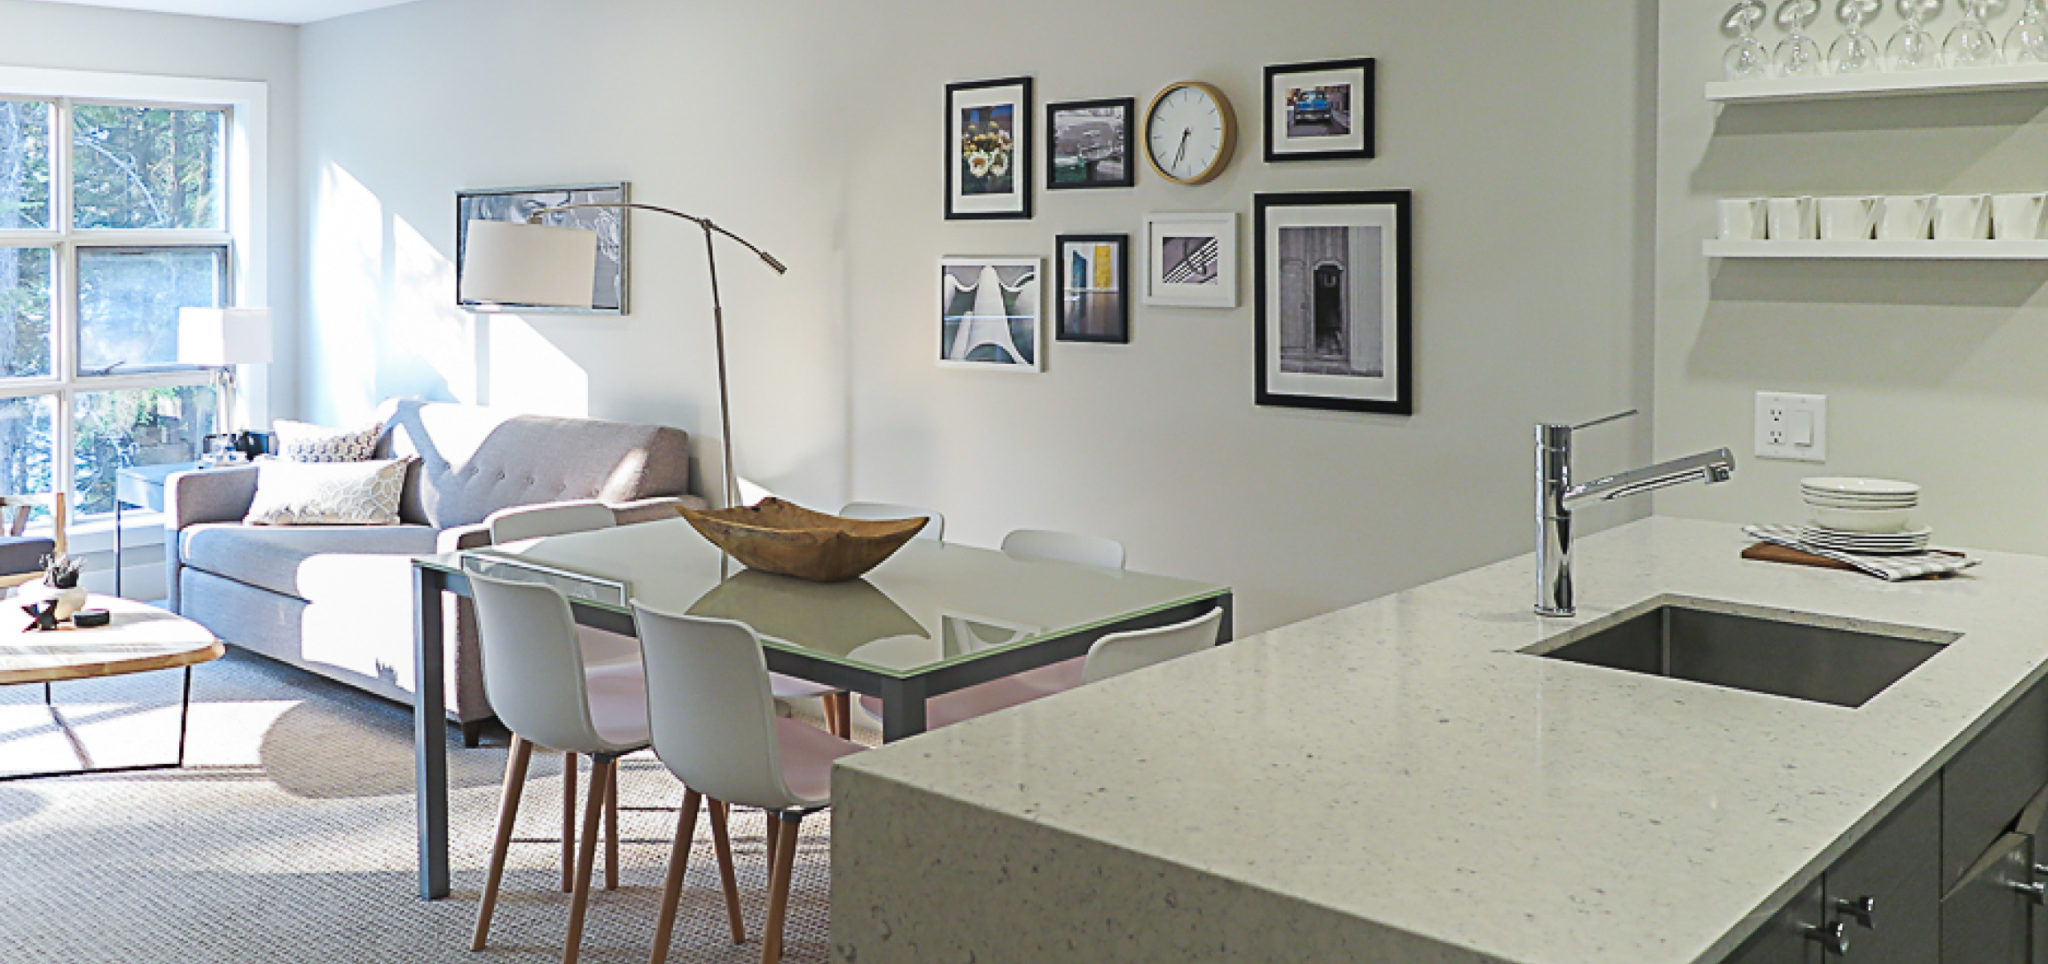
Lindsay and Mitchell then hung the artwork they had prepped beforehand. They carefully leveled each piece and made sure they were happy with the layout. Because of their preparation there were no changes to the original design.
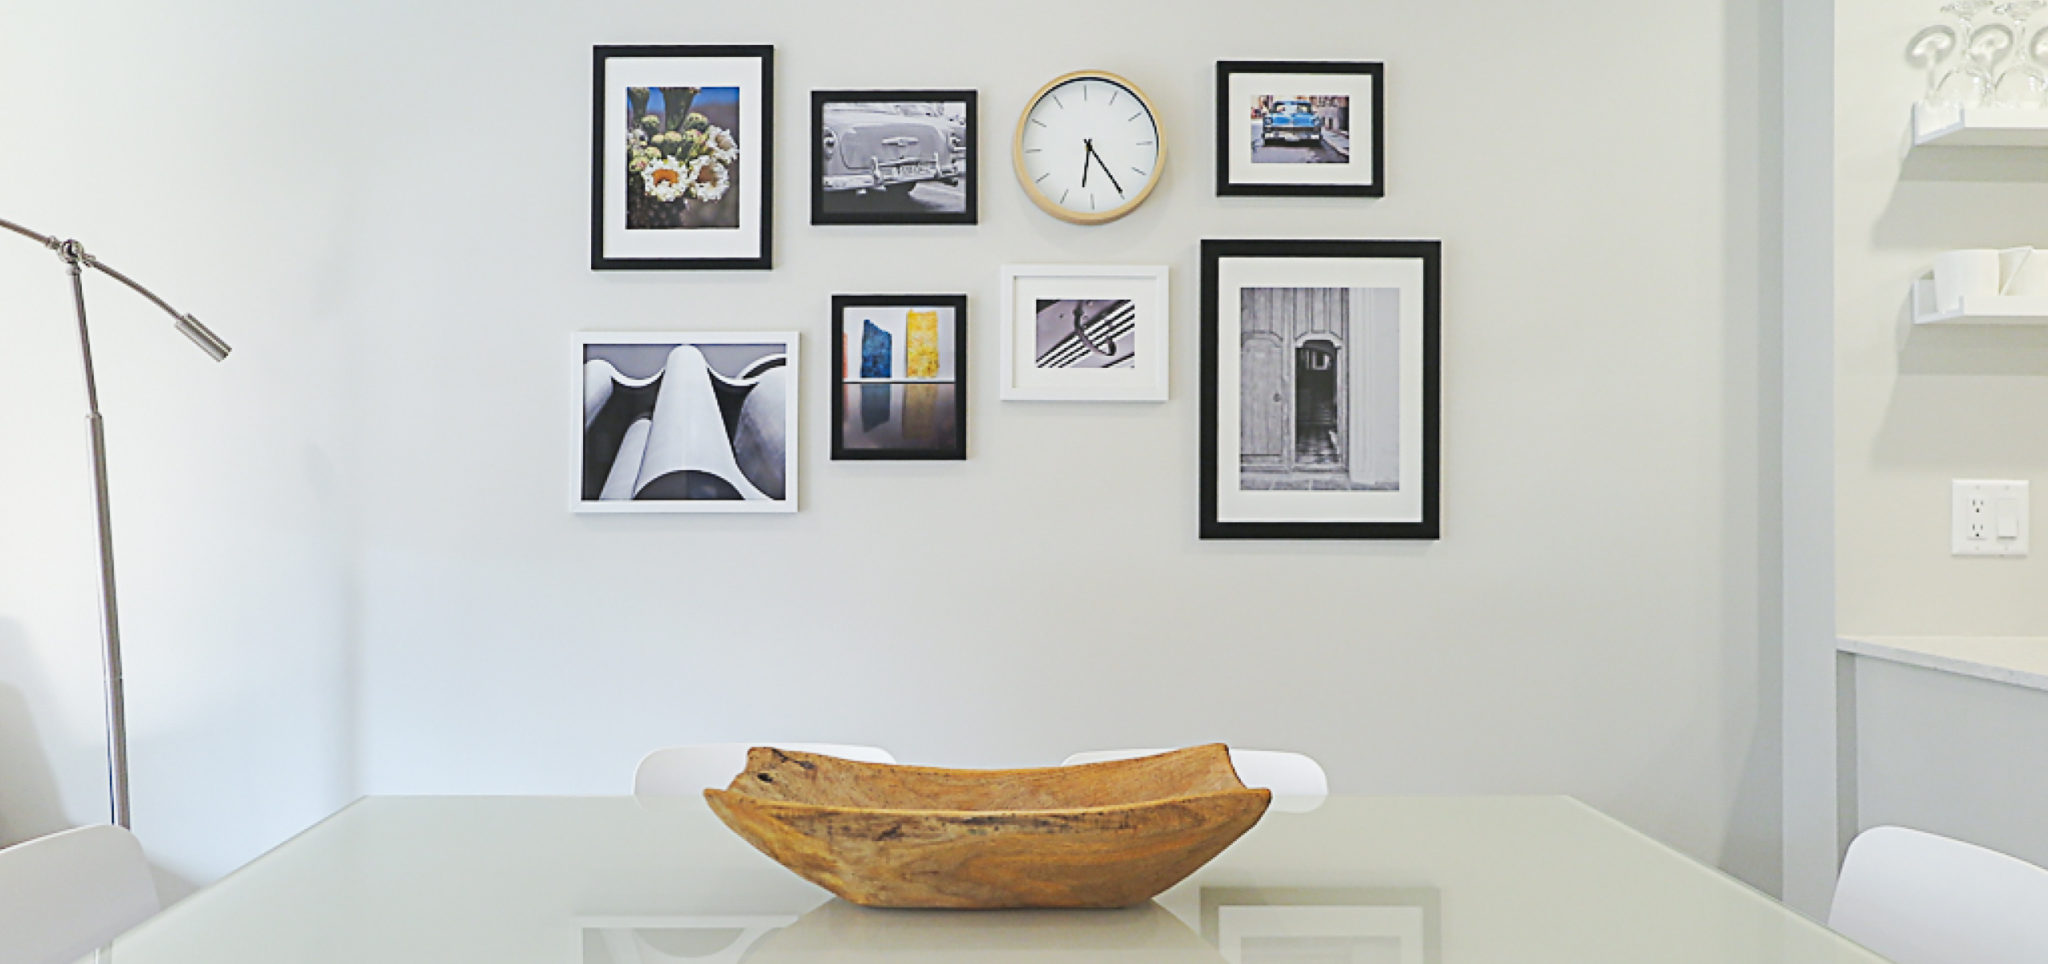
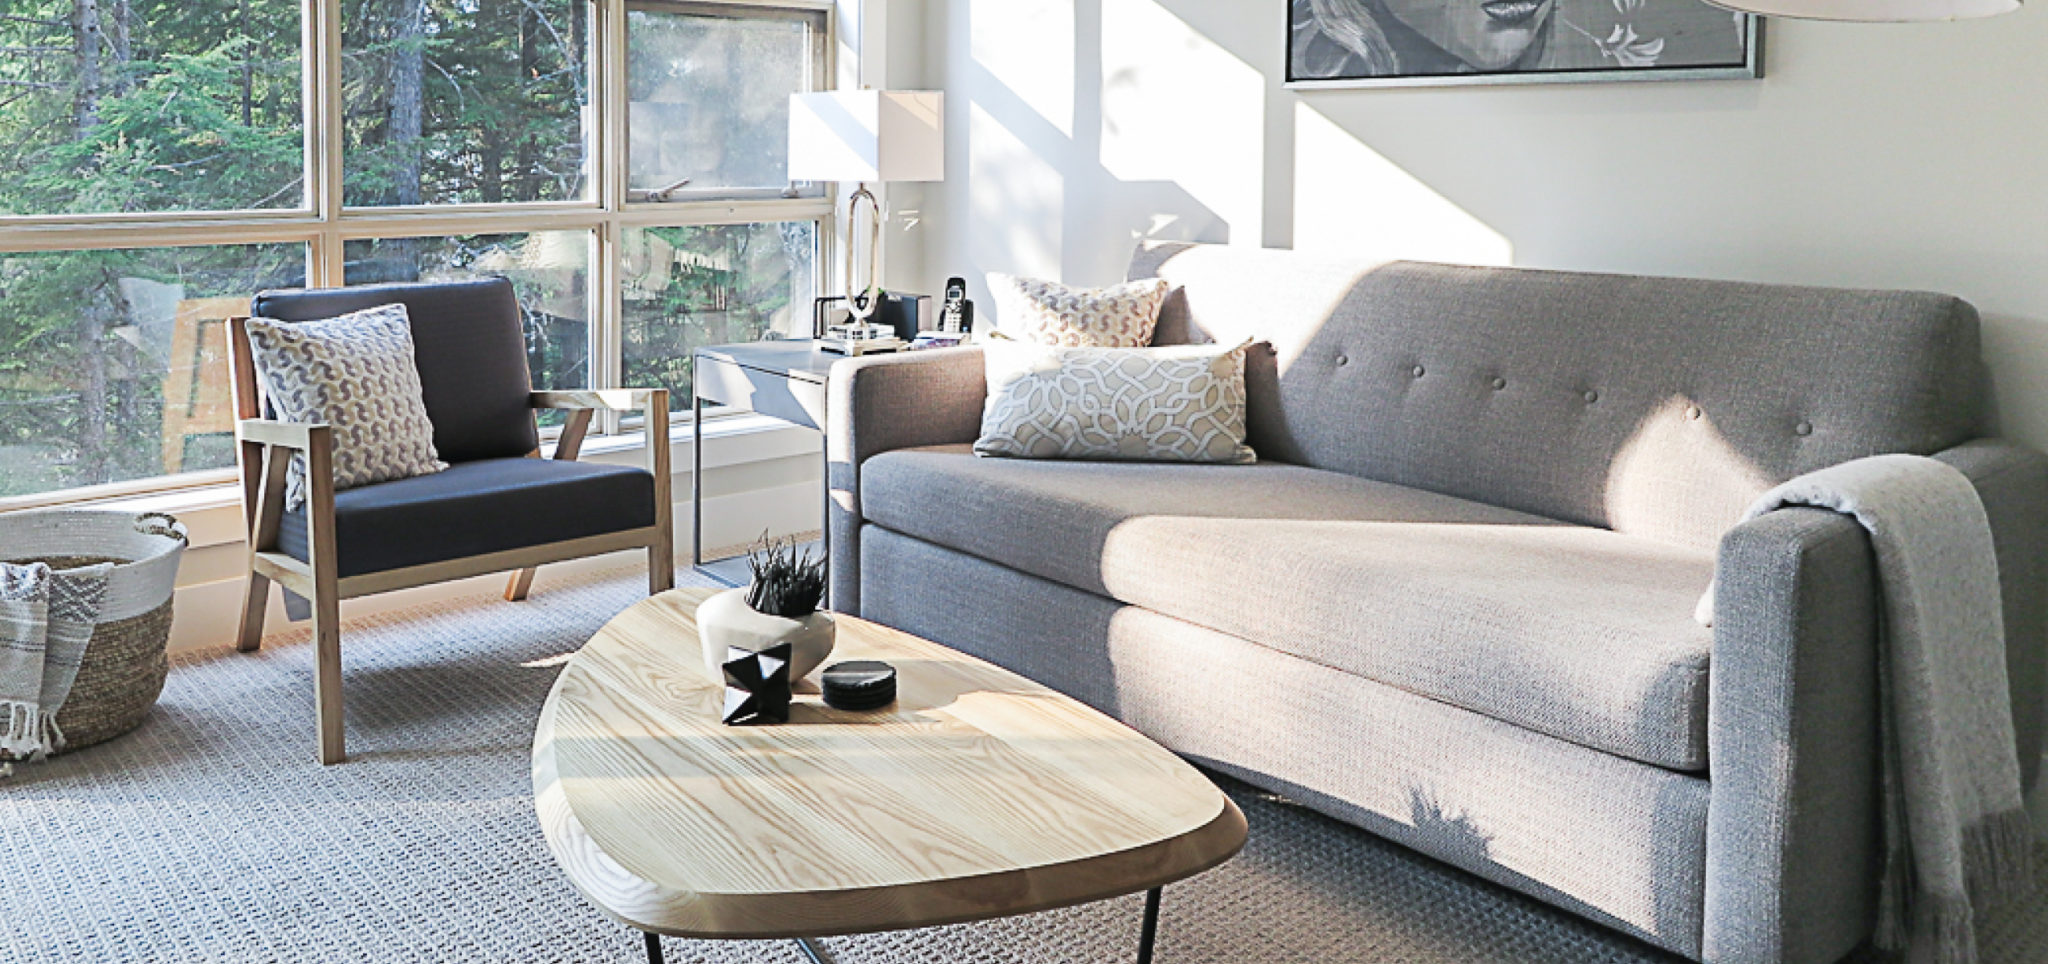
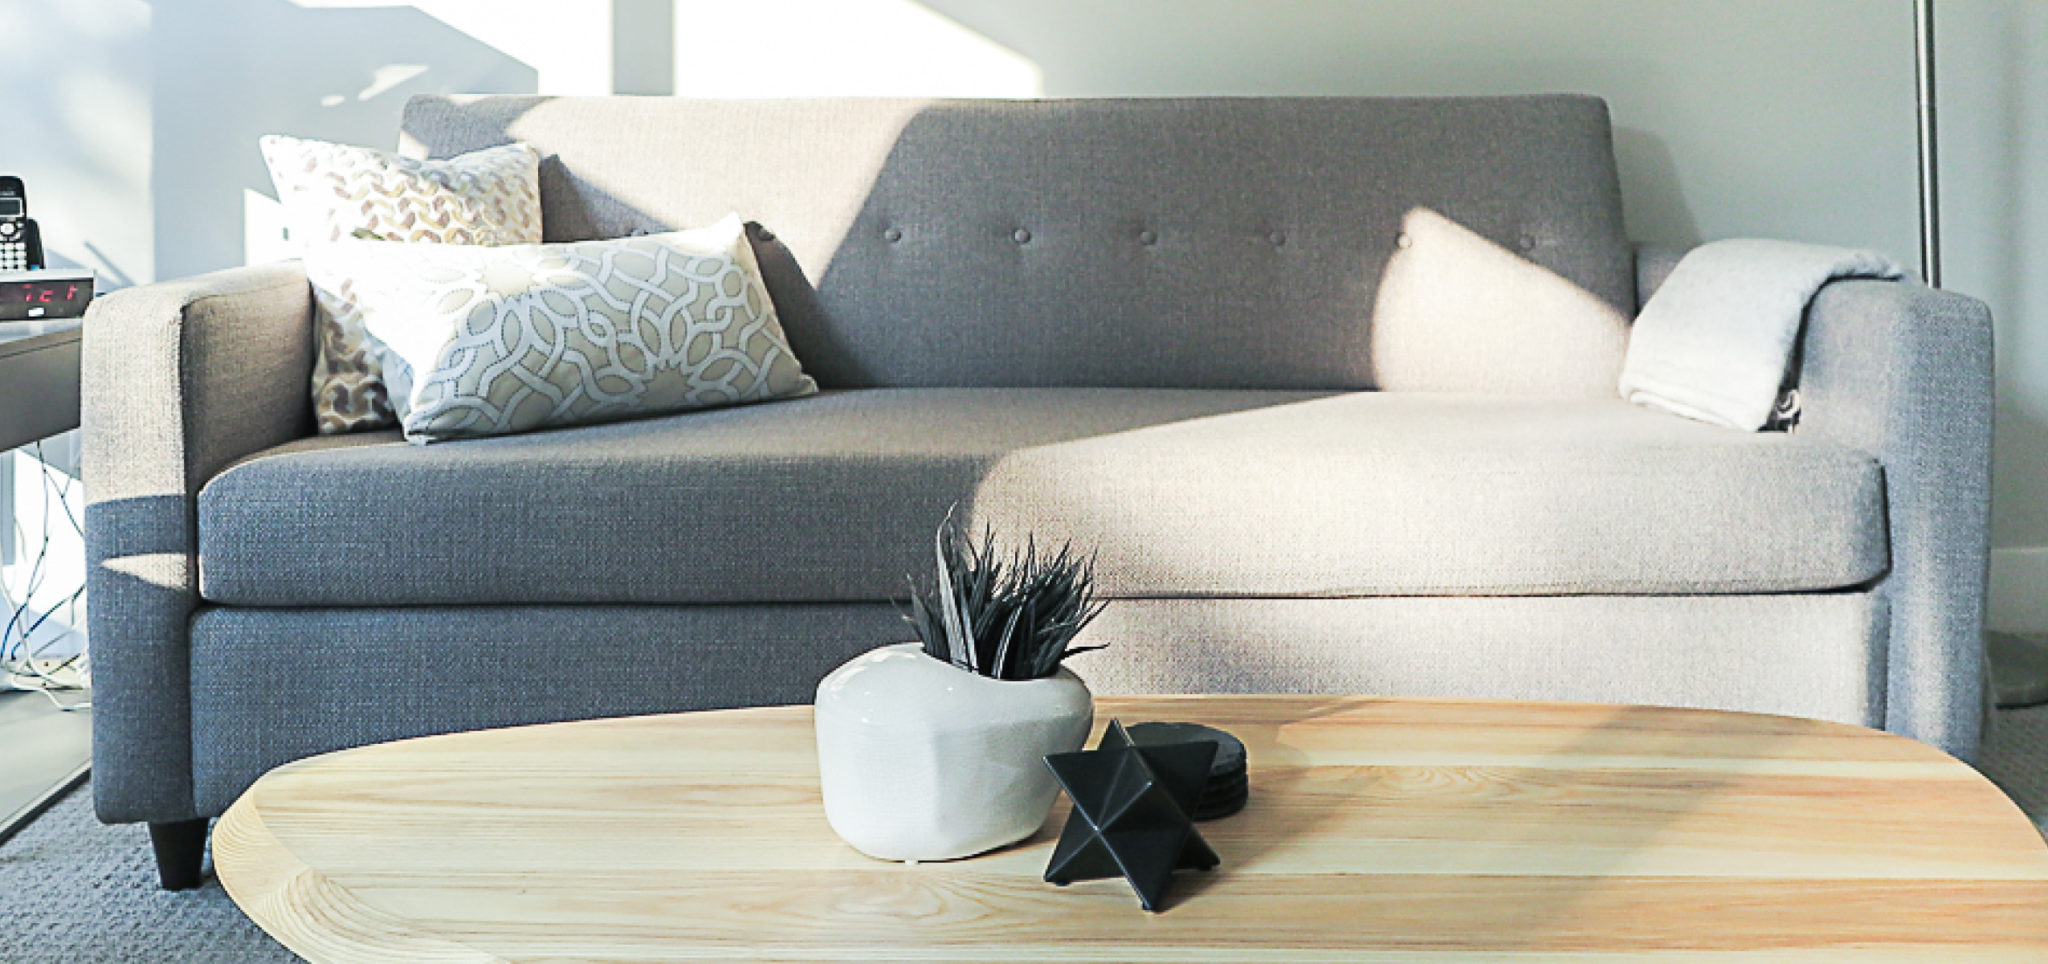
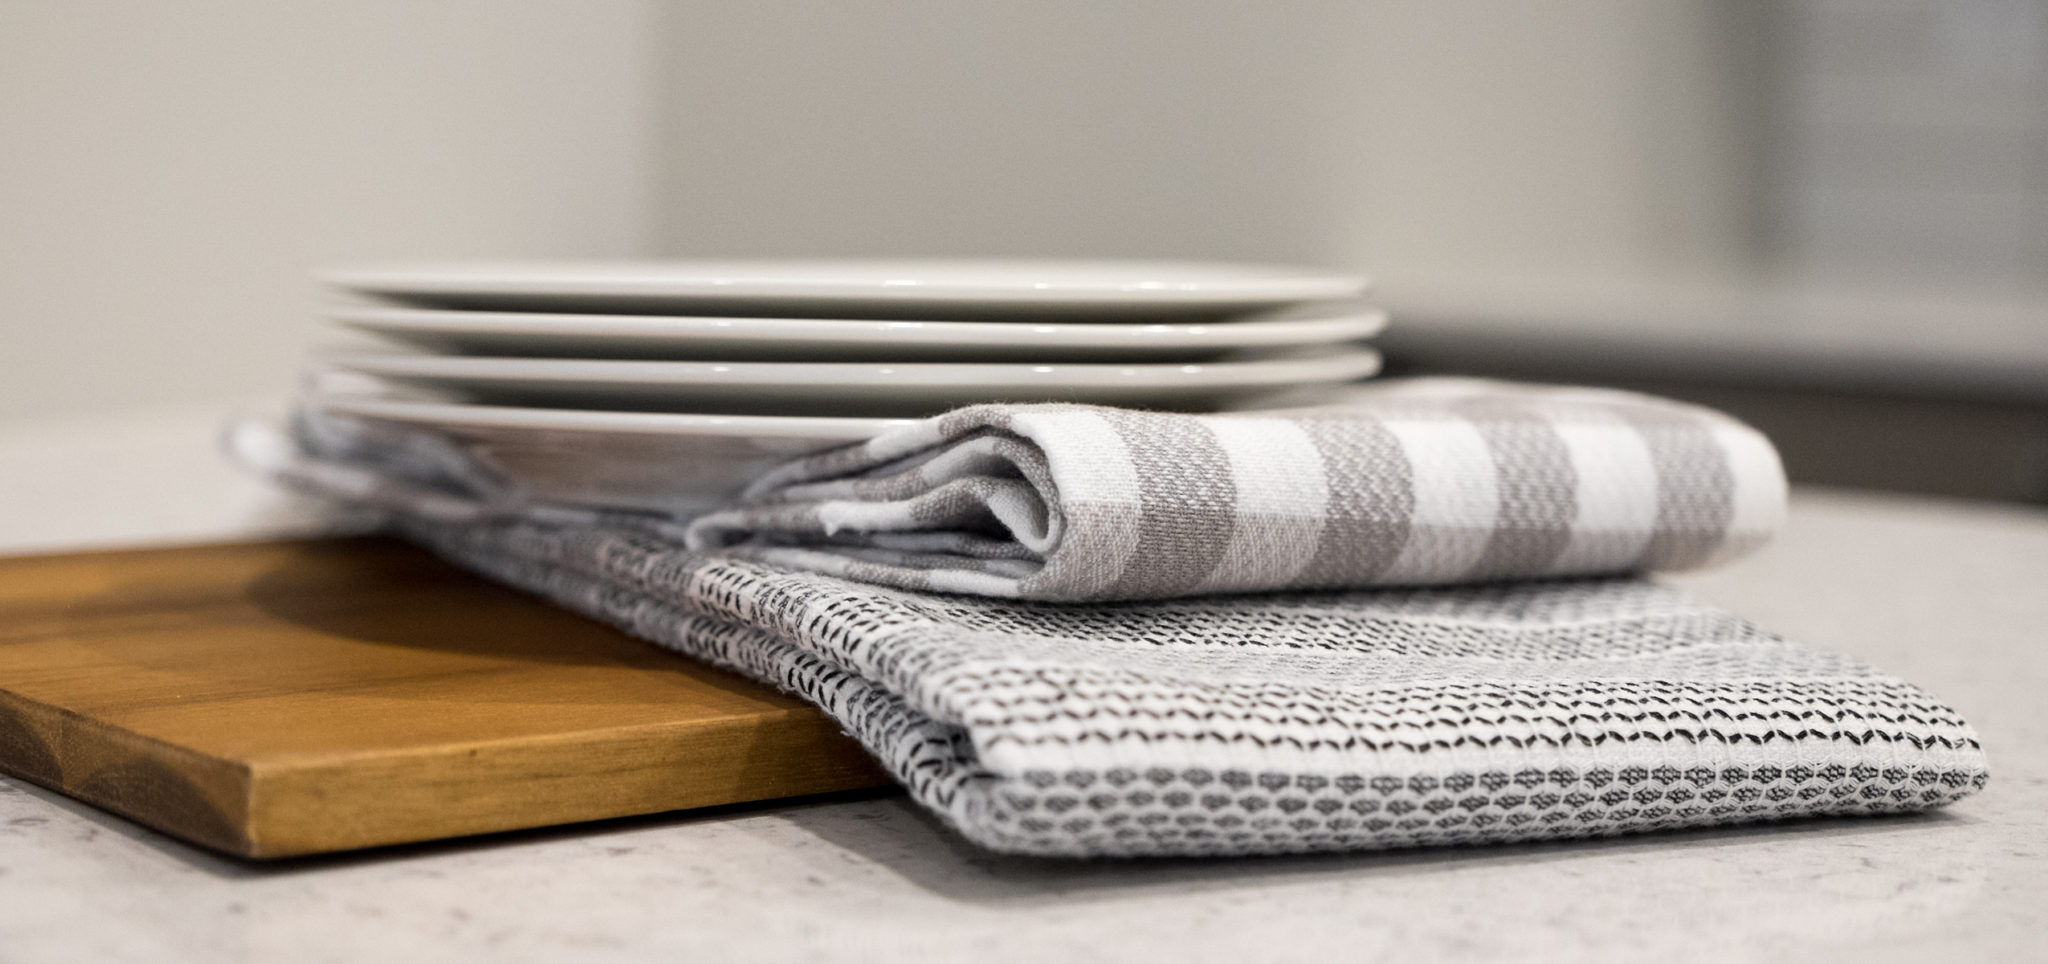
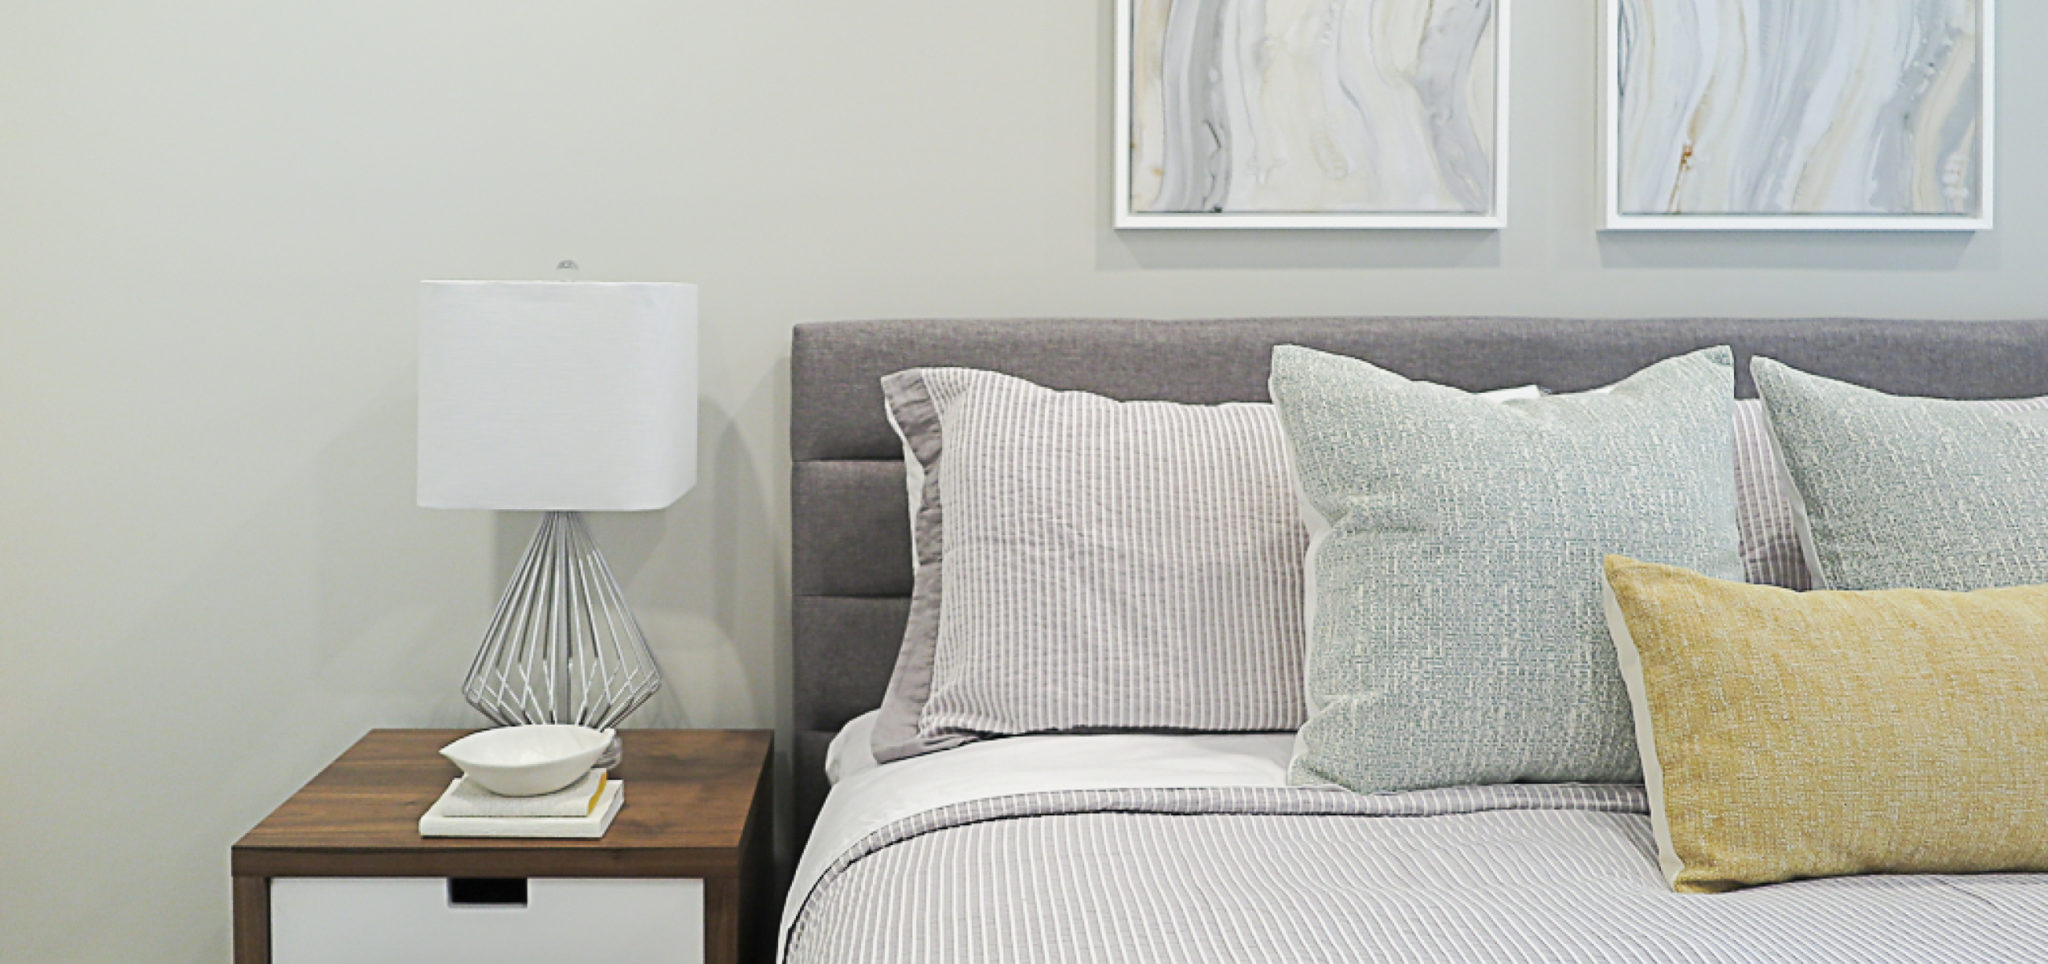
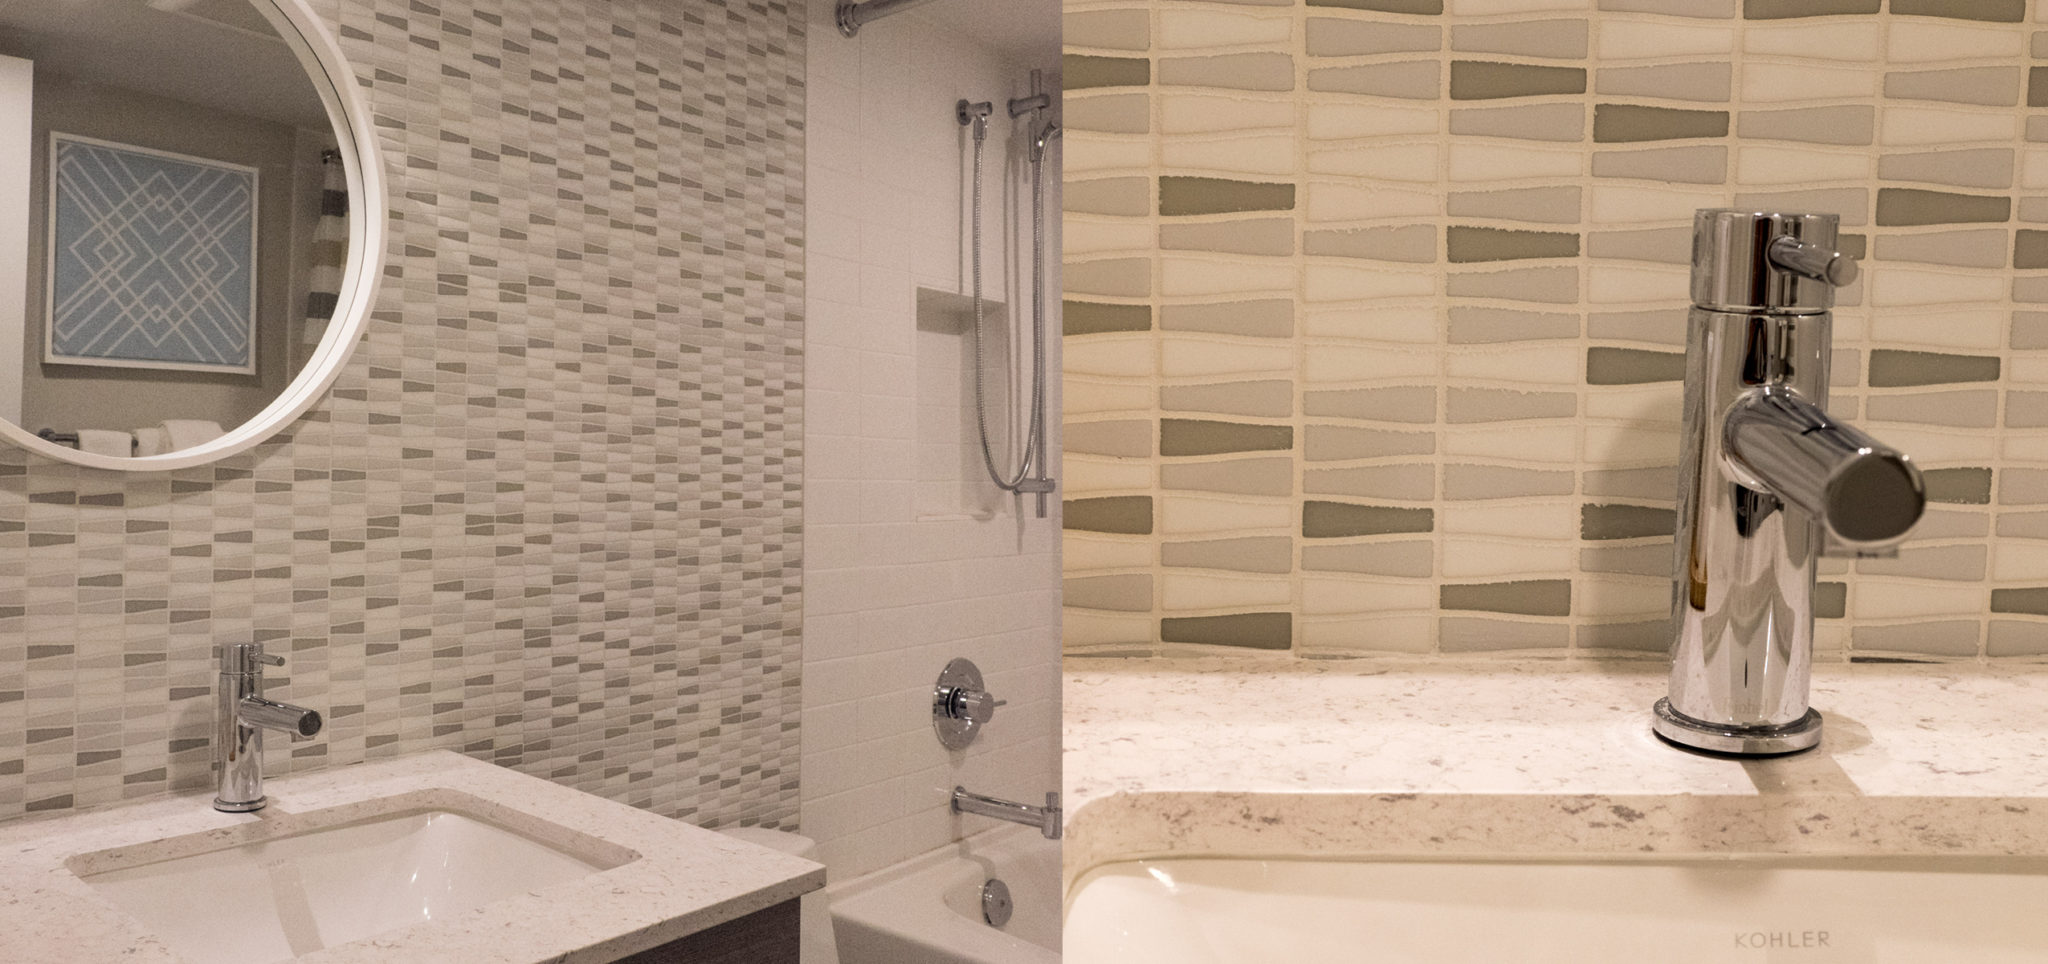
Voila! Patti’s images are hung and the entire renovation is complete. Here are some more pictures of the finished product. A relaxing, modern getaway for Patti and Rick in Whistler.
The Aspens Reno Reveal
Until the next reno!
~The Flüffians
Add a comment
0 Comments